
 Pin it
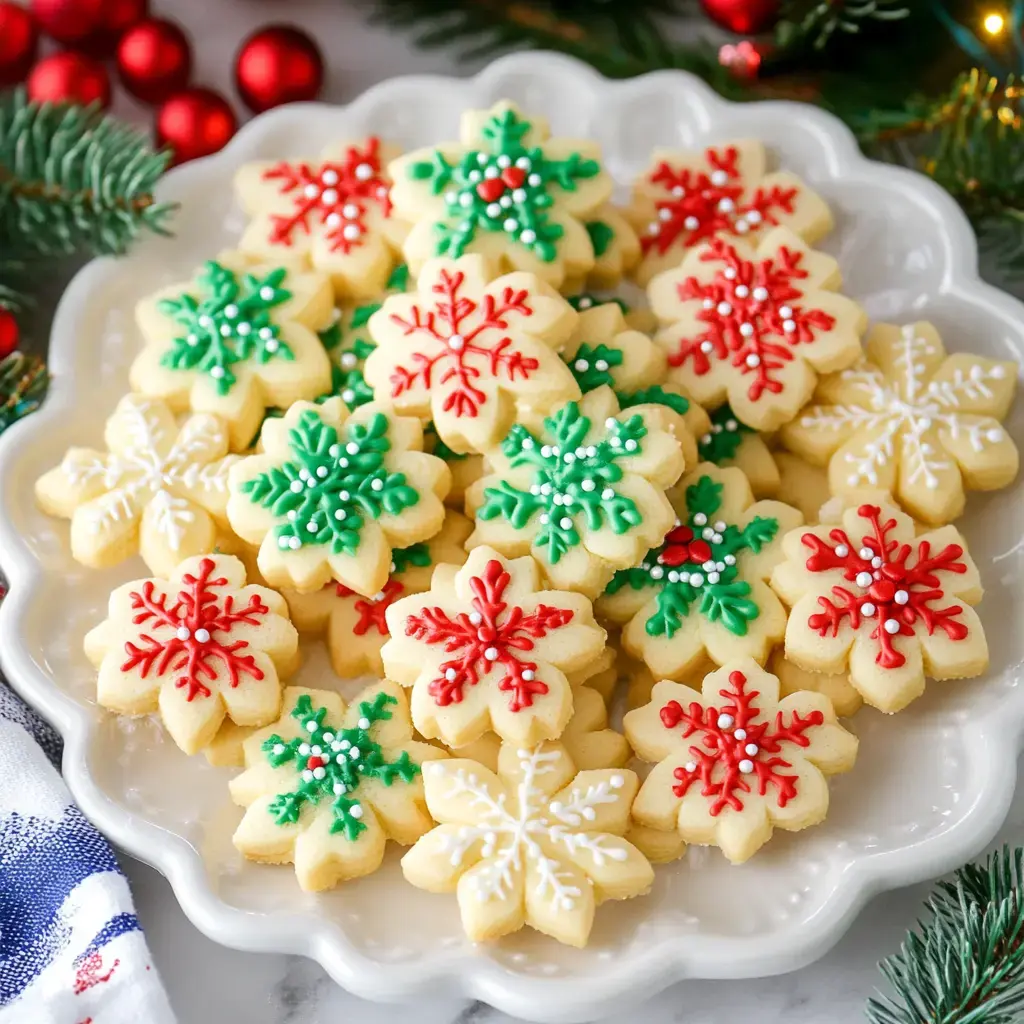
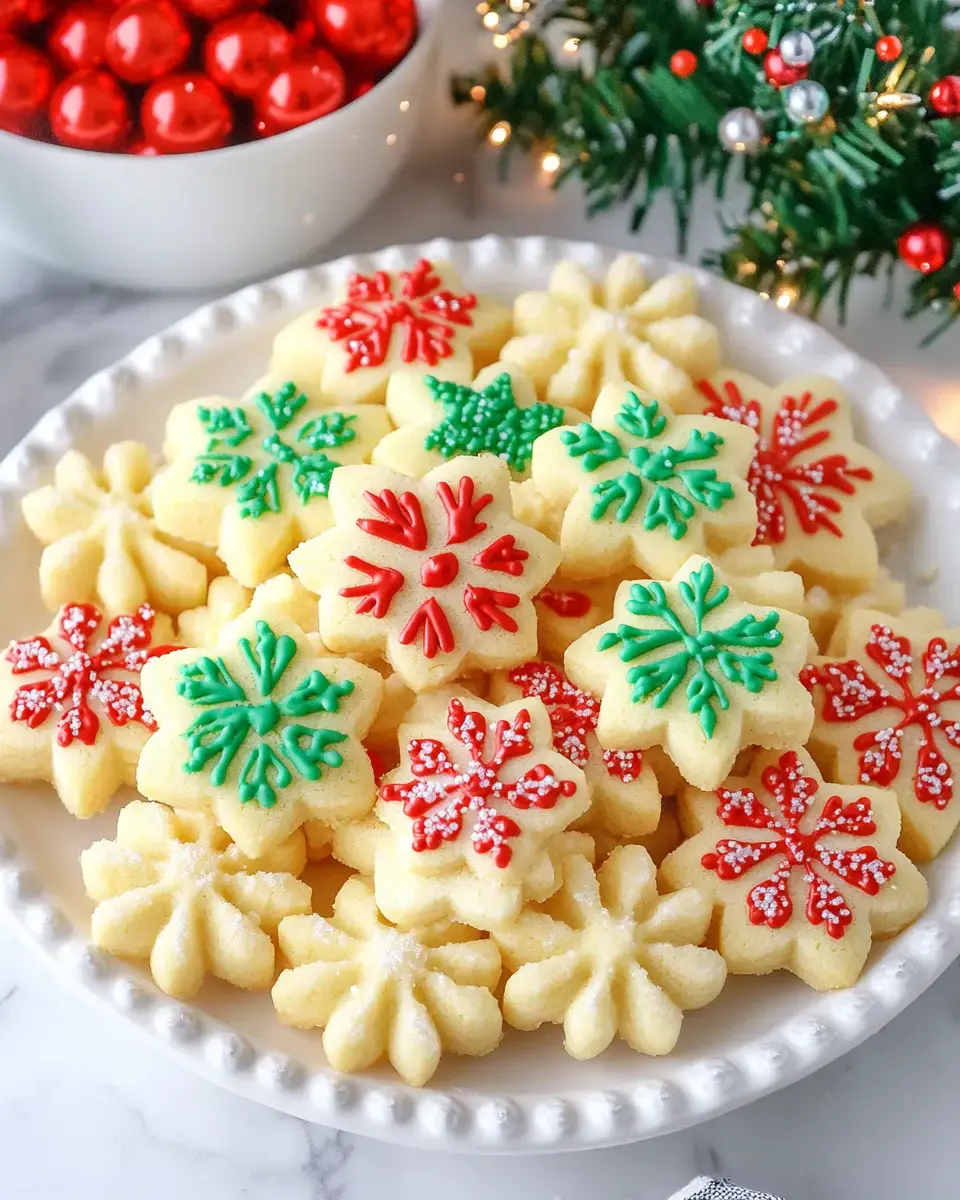
These handcrafted Traditional Spritz Cookies bring a buttery, soft bite that's perfect for holiday treats. They're super easy to make using a cookie press that forms fun seasonal shapes. Coming from German traditions, these cookies pack rich butter flavor with subtle notes of almond and vanilla. You can keep them simple with a sprinkle of colored sugar or go all out with chocolate bits and decorative toppings for a standout addition on any cookie tray.
What Makes These Cookies Special
These spritz treats hit the sweet spot between buttery cookies and shortbread, with a texture that melts away as you eat them—way better than anything from the store. The best part? No waiting around for dough to chill, so you'll have dozens ready in no time. You can switch up shapes and decorations however you want, making them great for Christmas, birthdays or any celebration.
What You'll Need
- Cookie Dough Basics:
- 2 cups softened unsalted butter
- 1 cup granulated sugar
- 2 large eggs at room temperature
- 2 teaspoons vanilla extract
- 1/2 teaspoon almond extract
- 4 1/4 cups all-purpose flour
- 1/2 teaspoon salt
- Decoration Options:
- Colored sugar
- Nonpareils
- Mini chocolate chips
- Gel food coloring
- Tools You'll Need:
- Cookie press with design plates
- Ungreased baking sheets
- Electric mixer
- Cooling racks
How To Make Them
- Mix Your Base
- Whip butter and sugar together until they're fluffy and light, around 3 minutes. Drop in eggs one by one, then pour in the vanilla and almond extracts. Stir in flour and salt just until everything comes together.
- Add Some Color
- Split your dough and mix in food coloring if you want. Blend until the color looks even, but don't overdo the mixing.
- Get Pressing
- Put your dough into the cookie press with whatever design you picked. Press cookies straight onto cool, clean baking sheets without greasing.
- Dress Them Up
- Top with colored sugar or other decorations before they go in the oven. Press lightly so toppings stick.
- Finish Them Off
- Bake at 375°F for about 5-7 minutes until they're done but not brown. Let them sit on the pan for 2 minutes, then move to cooling racks.
Tricks For Perfect Results
Always start with butter that's been sitting out to soften. Don't let your dough get too warm while working with it. Wipe off the press plates between batches for crisp shapes. Having trouble with cookies sticking to the sheet? Try putting your baking sheet in the fridge for a bit. Never grease your pans as this stops cookies from sticking properly. Always test one cookie first to check if your dough feels right.
 Pin it
Ways To Make Them Pretty
Mix and match different press plates and colors for fun combos. Try drizzling melted chocolate over cookies once they've cooled. Make little sandwich cookies using chocolate or jam between pairs. For a simple look, dust them with powdered sugar. Match your colors and sprinkles to the season. They make great gifts wrapped in clear bags or pretty tins too.
Keeping Them Fresh
Keep them in sealed containers at room temp for up to a week. Put some wax paper between layers so they don't mess up the designs. Want to save them longer? Freeze baked cookies for up to 3 months in containers made for freezing. Just let them warm up before serving. You can also make the dough ahead and keep it in the fridge for up to 3 days, but remember to bring it back to room temp before using your press.
Frequently Asked Questions
- → Why won't parchment paper work?
Cookie dough needs a surface to grab when pressed, and parchment is too slippery. Silicone mats do the trick just fine.
- → What does creamed butter and sugar look like?
It'll turn pale and fluffy after a few minutes of mixing, usually around 3-4 minutes.
- → Can I change the dough's color?
Sure, use gel coloring. Add little by little, since too much liquid can affect the dough. Split the dough for different hues.
- → How long will they stay fresh?
If you keep them in a sealed container, they'll taste great for about a week.
- → Spreading cookies—what gives?
They usually stay put in the oven. If yours spread, the dough might be too soft. Chill it a bit before shaping to fix it.
Conclusion
These cookies have a rich buttery bite and are fun to make for festive gatherings. Their pressed shapes and customizable details make them a holiday favorite.