 Pin it
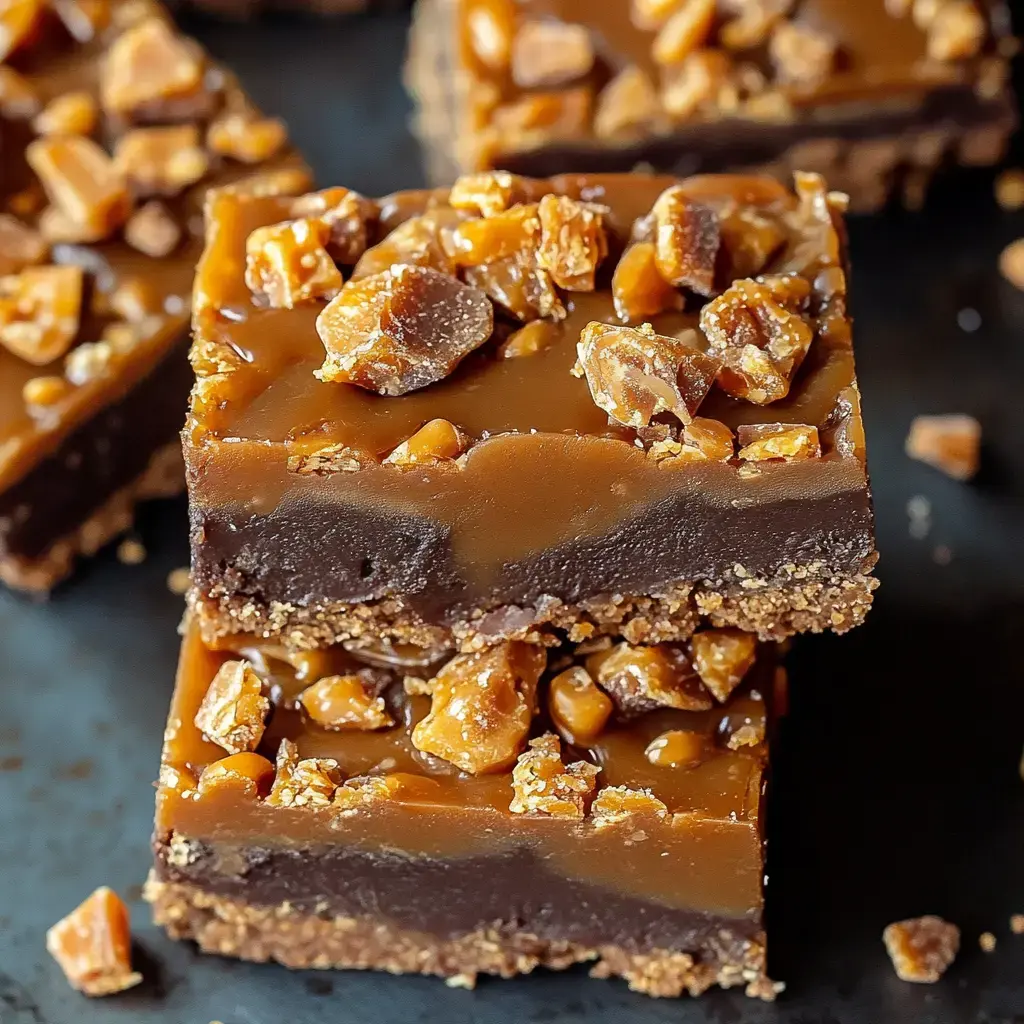
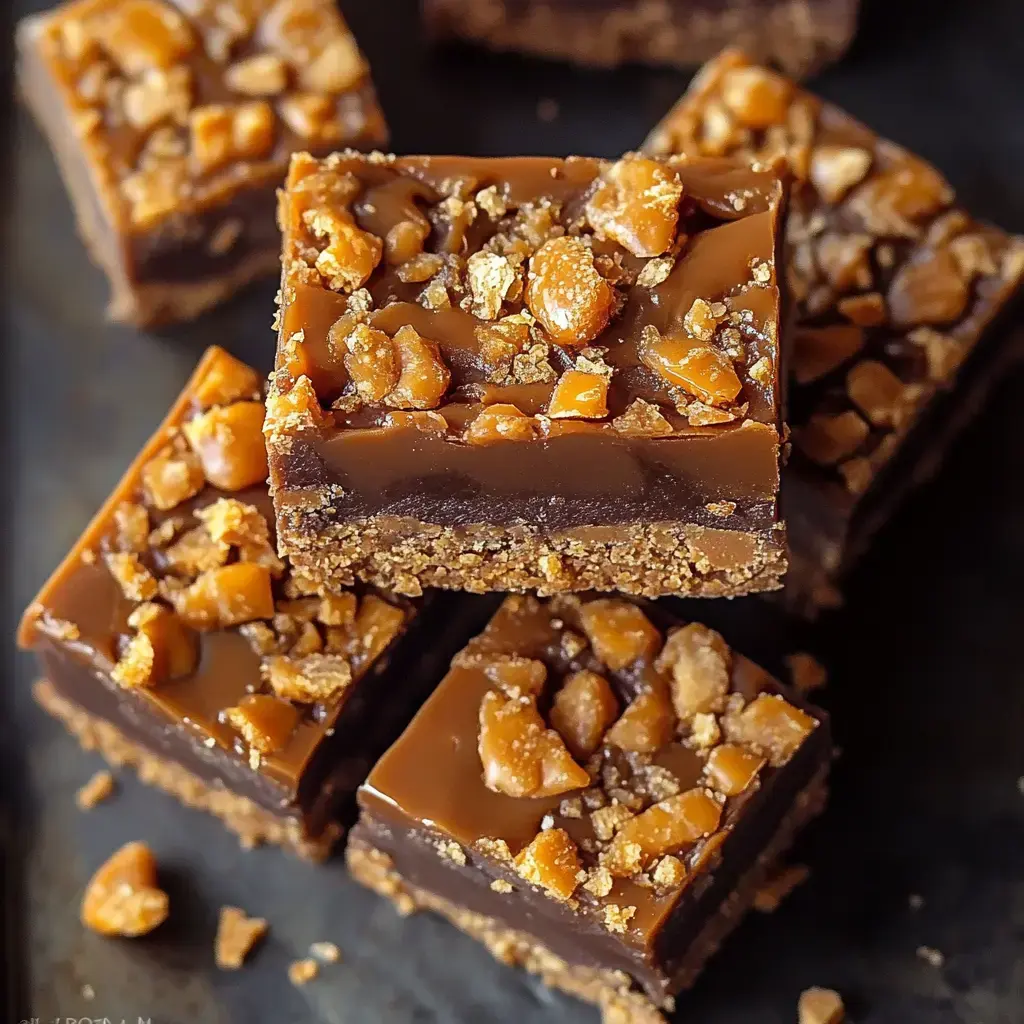
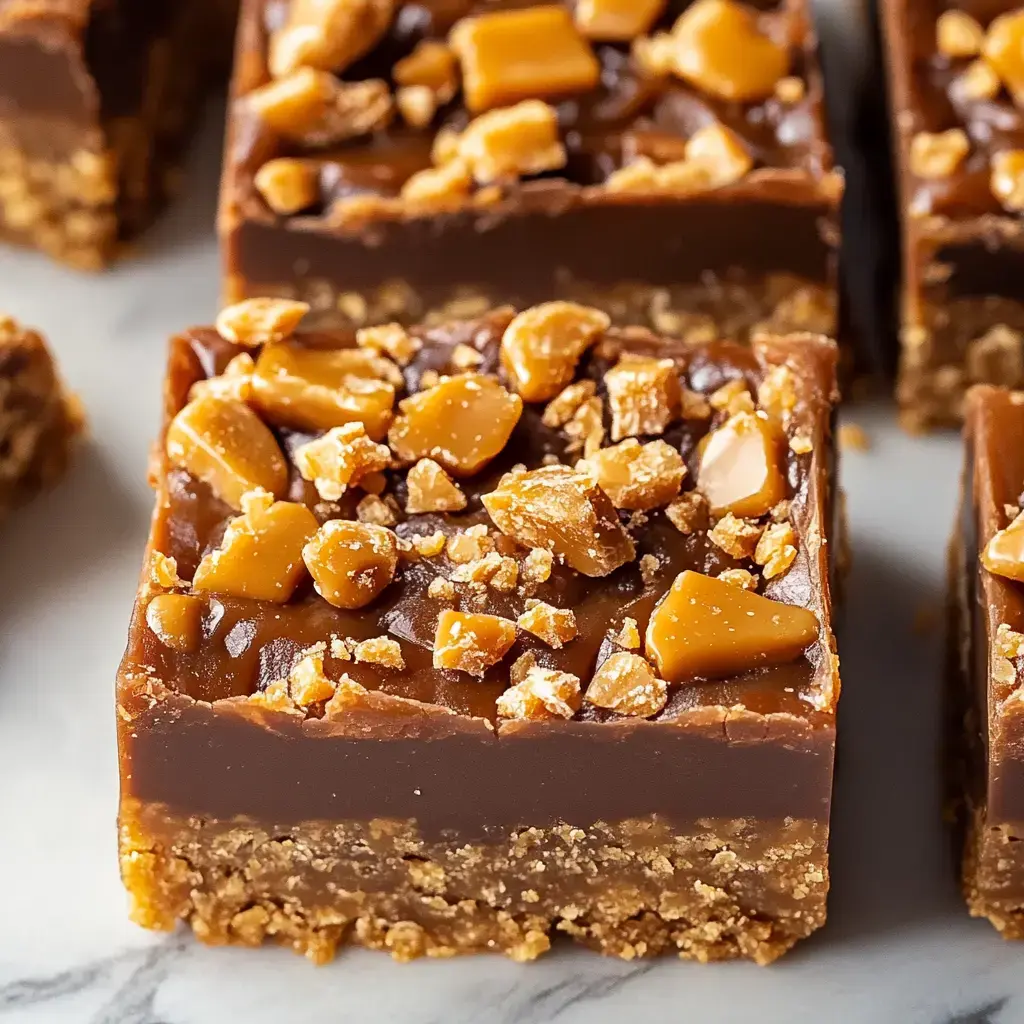
The dessert bars that sparked pure joy at our neighborhood bake sale started in my kitchen one rainy afternoon. Playing with leftover Halloween candy turned into these incredible Butterfinger Caramel Crunch Bars that everyone now begs me to make. The buttery graham cracker bottom meets gooey caramel and crunchy Butterfinger bits topped with silky chocolate. Pure bliss in every bite!
What Makes These Bars Special
Each bite of these bars tells a different story. The graham crackers give that perfect crunch. The caramel slowly melts in your mouth while bits of Butterfinger add surprise pops of flavor. I brought them to my son's soccer party and the tray was empty before halftime. My neighbor Jane swears she doesn't like sweets but I caught her sneaking seconds!
Ingredients for Success
- Graham Cracker Crumbs: Freshly crushed crumbs create a buttery, crispy base.
- Butter: Melted butter for both the crust and chocolate layer.
- Sugar: Regular sugar to sweeten the graham cracker crust.
- Soft Caramels: Use caramel bits or unwrap soft caramels for the filling.
- Heavy Cream: Combines with caramel for a smooth, gooey texture.
- Butterfinger Bars: Crushed bars for the filling and topping.
- Semi-Sweet Chocolate Chips: Melts into a glossy, rich top layer.
Step-by-Step Instructions
- Prepare the Base
- Preheat oven to 350°F (175°C). Combine graham cracker crumbs, melted butter, and sugar. Press into a parchment-lined pan and bake for 10 minutes until golden and set.
- Make the Caramel Filling
- Melt caramels and heavy cream over low heat, stirring until smooth. Pour over the baked crust and sprinkle with crushed Butterfinger bars.
- Add the Chocolate Layer
- Melt semi-sweet chocolate chips with a tablespoon of butter until glossy. Spread over the caramel layer and top with more crushed Butterfinger pieces.
- Chill and Slice
- Refrigerate for at least 2 hours to set. Use a chilled knife to slice into clean squares.
 Pin it
My Baking Secrets
The parchment paper trick saves so much cleanup time. Wait until the bars are completely cool before cutting them. I learned this the hard way when I rushed once and ended up with messy edges. Pop your knife in the freezer between cuts for picture-perfect squares. A little extra chocolate drizzle on top makes them look bakery worthy.
Ways to Share
These bars steal the show at every bake sale. I wrap them individually in pretty cellophane for gift giving. Last Christmas my sister in law called me three times for the recipe after tasting them at our family gathering. The chocolate drizzle on top turns them into fancy party treats.
Keep Them Fresh
Pop these bars in an airtight container and stick them in the fridge. They taste amazing for a whole week. To freeze them put parchment paper between layers so they don't stick together. They keep their magic for three months in the freezer. Just move them to the fridge the night before serving.
Mix It Up
Sometimes I use milk chocolate when my kids help in the kitchen. Adding a layer of peanut butter makes them extra decadent. My friend Susan swapped in Heath bars and they disappeared at her book club. The kitchen is your playground with this recipe.
More Than Just Dessert
Watching my kids crush cookies and layer ingredients brings back memories of baking with my mom. These bars have become part of our family story. My kitchen fills with giggles and chocolate-covered fingers whenever we make them. The best part is seeing faces light up at first bite.
 Pin it
Frequently Asked Questions
- → How long do these bars stay fresh?
- The bars stay fresh for up to 5 days at room temperature. You can also store them in the refrigerator for up to a week to maintain freshness.
- → Can I use different chocolate for the topping?
- While the recipe calls for semi-sweet chocolate chips, you can use milk chocolate or dark chocolate chips instead. The key is using good quality chocolate that melts smoothly.
- → Why line the pan with parchment paper?
- Parchment paper prevents the bars from sticking to the pan and makes removal much easier. It also helps maintain the clean edges of your bars when cutting.
- → Can I freeze these bars?
- Yes, these bars freeze well for up to 3 months when stored properly. Wrap them tightly in plastic wrap and place in a freezer bag to prevent freezer burn.
- → What if I can't find caramel bits?
- Regular soft caramels work perfectly fine in this recipe. Just unwrap and melt them with the cream as directed in the recipe. Make sure to chop larger caramels into smaller pieces for easier melting.
