 Pin it
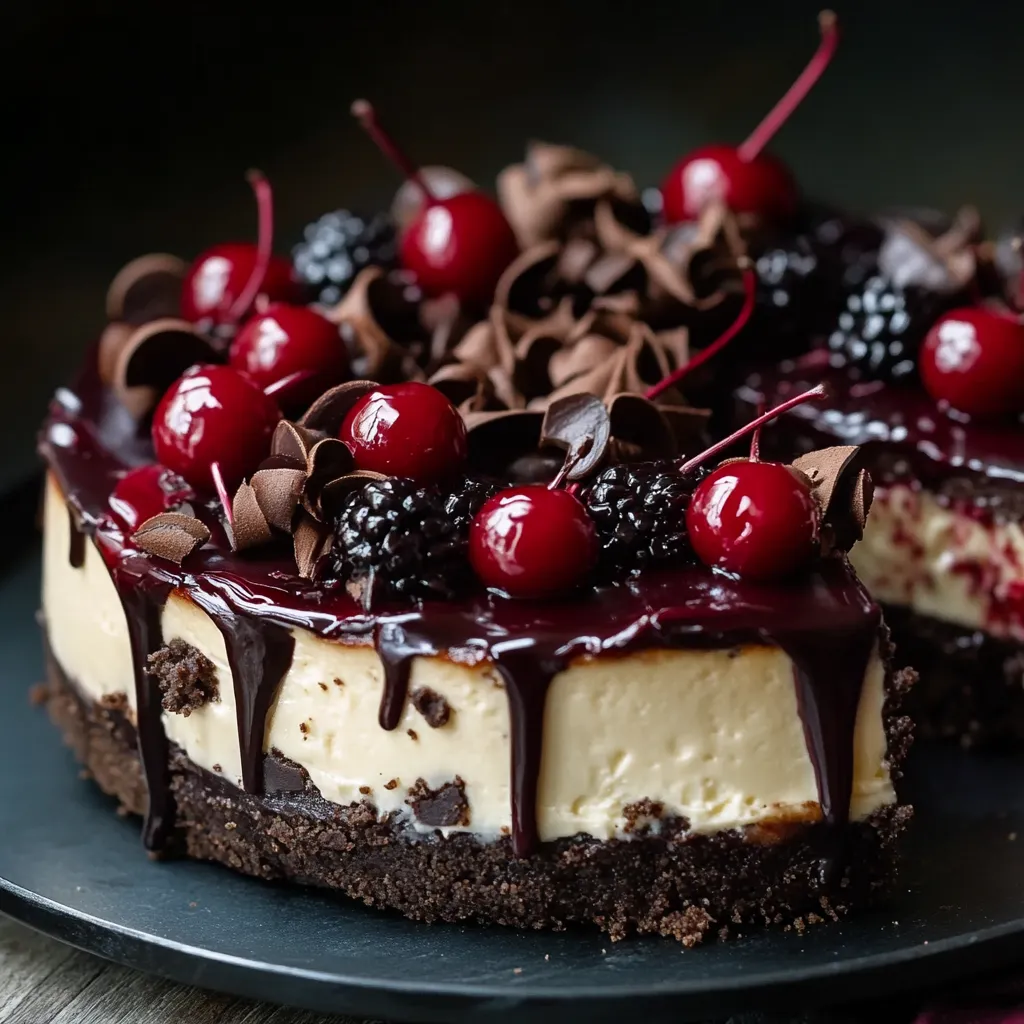
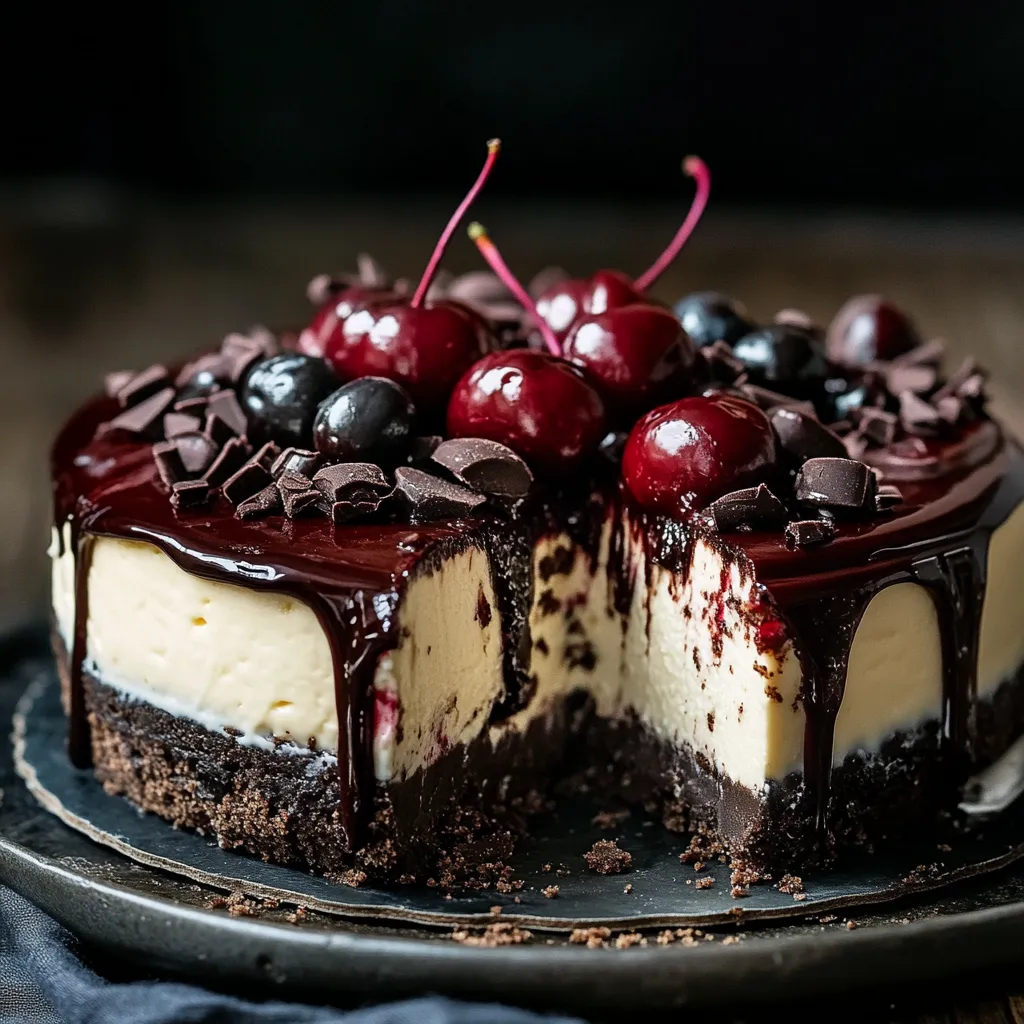
When you cut into this Black Forest Cheesecake, you'll realize you've whipped up something truly remarkable. This dessert stands out as a showstopper that blends the velvety richness of chocolate with the tangy burst of cherries, all tucked inside a perfectly smooth cheesecake. I've spent countless hours tweaking this in my home kitchen, and now it's the dessert everyone begs me to bring to gatherings.
What Makes This Treat Special
I came up with this recipe during a stormy day when I decided to mix my mom's tried-and-true cheesecake with my grandma's classic Black Forest cake. What came out of the oven was better than I'd hoped, and it's now what my family expects at every big celebration.
Key Components
- Full-fat cream cheese: Don't go for low-fat options if you want that luxurious mouthfeel
- Fresh heavy cream: This gives you that dreamy smoothness we're going for
- Dutch-process cocoa powder: Adds richer, more intense chocolate flavor
- Fresh or top-quality canned cherries: The highlight of your Black Forest creation
- Quality chocolate cookies: They create the base of your amazing dessert
- European-style butter: Contains more fat for a sturdier, tastier crust
 Pin it
Step-By-Step Guidance
- Get Your Ingredients Ready (1 hour before):
- Pull cream cheese, eggs, and sour cream out of the fridge. Exact measurements matter for cheesecake success, so don't eyeball anything. Get your springform pan ready with grease and parchment paper.
- Make Your Base (20 minutes):
- Crush chocolate cookies into fine crumbs. Stir in melted butter until everything looks like wet sand. Press it all firmly and evenly into your pan. Bake briefly until it smells good and feels set.
- Whip Up The Filling (30 minutes):
- Beat the cream cheese until it's completely smooth. Slowly add sugar so it doesn't get grainy. Mix in eggs one by one, just until they're combined. Gently stir in the melted chocolate.
- Nail The Baking (1 hour 10 minutes):
- Set up a water bath for even heat. Wrap your pan well to keep water out. Watch the temperature closely while baking. It's done when the center still jiggles slightly.
- Cool It Right (4-6 hours):
- Let it rest in the turned-off oven with the door open for an hour. Cool completely on a rack. Chill in the fridge before finishing. Add the cherry topping right before you're ready to serve.
 Pin it
Important Notes
The first time I brought this cheesecake to a family dinner, my super-picky aunt who never likes anyone's desserts asked me for the recipe. That's when I knew I'd hit on something really good.
Creating Silky Smooth Results
After making this dozens of times, I've found that getting that dreamy texture comes down to time and temperature. Every single ingredient needs to be room temperature - I even put my eggs in warm water for 10 minutes before I start. These little details are what turn an okay cheesecake into something amazing.
Water Bath Tips
Getting the water bath just right took me forever to figure out. Now I wrap my springform pan in three layers of heavy foil that goes way up the sides. The water should come halfway up the pan - any higher and you risk leaks, any lower and you won't get enough moisture while it bakes.
Picking The Best Cherries
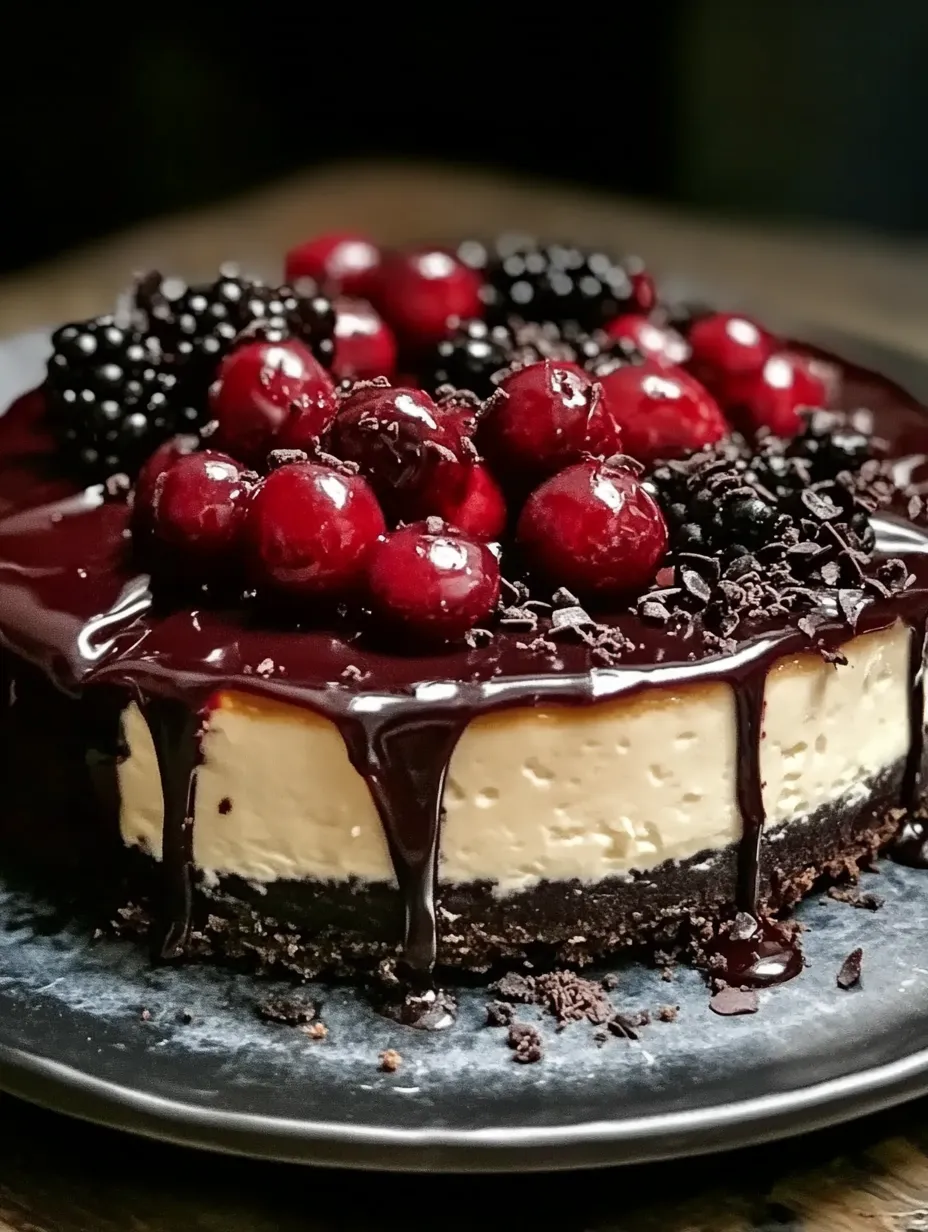
Good cherry pie filling works fine, but I love making my own topping with fresh or frozen cherries. I cook them with a bit of sugar, real vanilla, and a splash of cherry brandy until they look glossy and perfect. Their tartness works so well with the rich cheesecake underneath.
Working With Chocolate
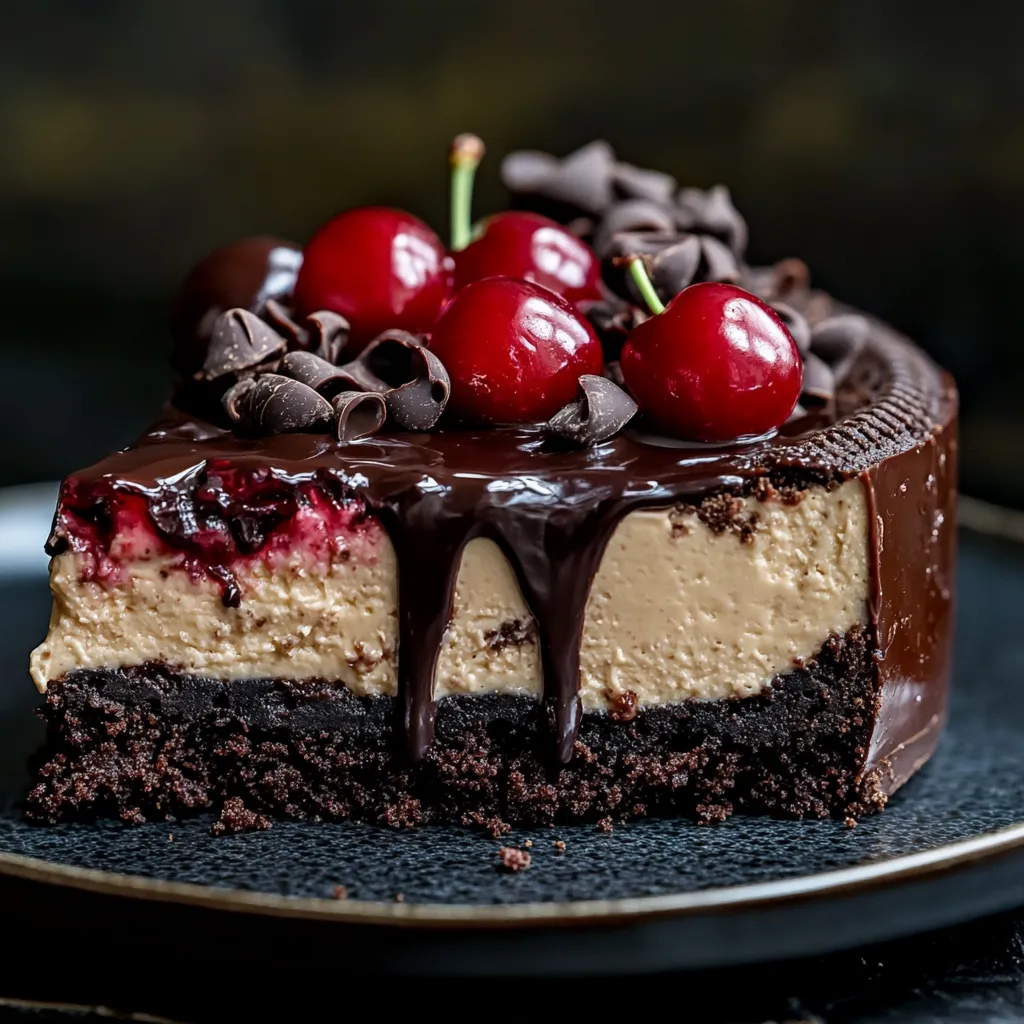
You'll get totally different results depending on which chocolate you use. For the crust, I mix dutch-process cocoa with the cookie crumbs for better flavor. The filling gets both melted dark chocolate and some cocoa powder, while I top it with curls of semi-sweet chocolate.
Changing It With The Seasons
In hot weather, I often make it lighter with more fresh cherries and less chocolate. When it's cold outside, I go all in on richness with extra chocolate and warm ganache drizzled on top. The basic recipe works great any time of year.
Keeping It Fresh
Storing it right means every piece tastes fantastic. I've learned that putting a paper towel on top before wrapping soaks up moisture and keeps the surface looking great. If I'm freezing it, I cut it into slices first so I can thaw just what I need.
Fixing Common Problems
Issues like cracks or uneven baking usually happen because of temperature changes. If the top starts browning too fast, just cover it loosely with foil. See a crack starting? Turn your oven down 25 degrees and bake it a little longer.
Prep Ahead For Parties
This cheesecake actually tastes better after a day or two. I usually make it a couple days before I need it, which lets the flavors blend perfectly. Just wait to put the cherry topping on until a few hours before serving so it stays just right.
 Pin it
Tools That Help
Having the right stuff makes a big difference. You'll want a good springform pan, strong mixer, and proper spatulas. I actually keep one rubber spatula that's only for cheesecakes - I don't let it touch any other desserts!
Smart Baking Advice
- Use a fine strainer for perfectly smooth filling
- Keep measuring tools just for chocolate work
- Check if it's done by listening for the right tap sound
- Don't ever open the oven during the first hour of baking
My Personal Reflections
After making this Black Forest Cheesecake so many times, I've learned that taking your time is really the hidden ingredient. From letting everything warm up to the right temperature to waiting for that final cooling time, every bit of patience pays off with a tastier dessert. This recipe has grown into more than just a list of ingredients - it's become a celebration of family traditions, cooking skills, and the pure fun of creating something that wows everyone at the table.
Frequently Asked Questions
- → Can I skip using a water bath?
- Sure, but a water bath keeps it from cracking and bakes it evenly. Without one, bake at 300°F for a bit longer.
- → What’s the sign of a done cheesecake?
- The edges should be firm but the center should jiggle slightly. It’ll set completely as it cools.
- → Can I swap canned cherries for fresh ones?
- Yes! Simmer fresh cherries with some sugar and cornstarch. About 4 cups of pitted cherries work well.
- → How long will it stay fresh?
- It’ll last up to 5 days in the fridge, or stash it in the freezer for 2 months.
- → Can I prepare this in advance?
- Totally! It needs about 4 hours to cool, so making it 1-2 days ahead is a great idea.
