
 Pin it
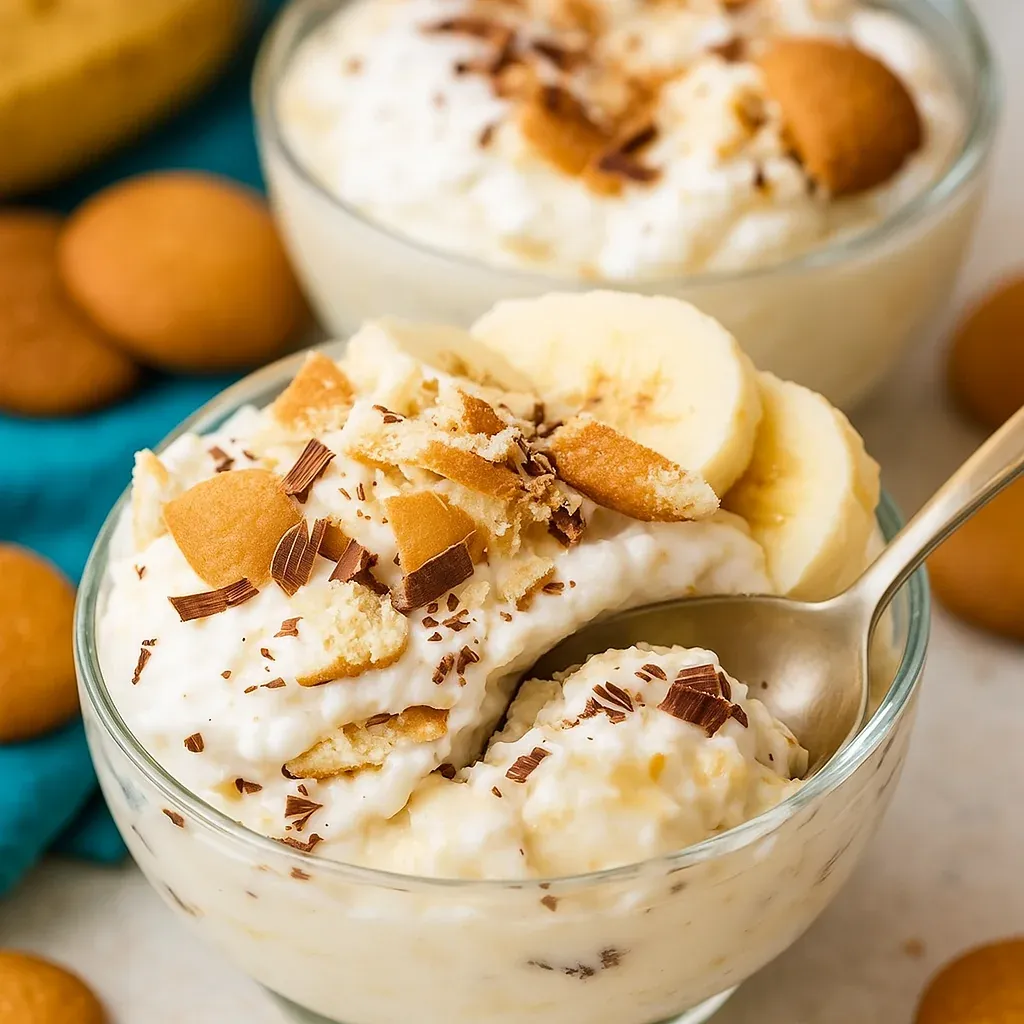
This scratch-made banana pudding takes basic pantry staples and transforms them into a heartwarming treat that blows any box mix out of the water. Velvety vanilla pudding, fresh banana slices, and crunchy vanilla wafers come together in this fully homemade delight that manages to be both fancy and comforting.
The first time I whipped up this banana pudding for my relatives, it vanished in seconds. These days, everyone begs for it at gatherings, and I've tweaked each part until I got the perfect balance between the creamy pudding and that satisfying cookie crunch.
Ingredients
- Cornstarch: gives you just the right thickness without ending up gloopy or too loose
- Whole milk: adds that necessary richness while keeping everything smooth
- Heavy cream: shows up twice to make both the pudding and topping super indulgent
- Egg yolks: bring that wonderful richness and sunny yellow color
- Ripe bananas: pick ones that are yellow with just a few brown spots for the best taste
- Lemon juice: stops the bananas from turning brown and adds a tiny zing that cuts the sweetness
- Vanilla wafers: try making your own for that authentic base layer
- Dark chocolate: you don't have to add it, but it brings a sophisticated twist to the dessert
Step-by-Step Instructions
- Make the Pudding Base:
- Start by mixing your dry stuff first. Stir sugar, cornstarch, and salt in a medium pot until they're all combined. This stops lumps from showing up later. In another bowl, mix milk, cream and egg yolks until the yolks are totally broken up. Pour this wet mixture into your dry stuff slowly while stirring the whole time so you don't get any lumps.
- Cook the Pudding Mixture:
- Put the pot on medium heat and keep stirring for about 10-15 minutes until it gets nice and thick. Don't rush this part. Your pudding should stick to the back of a spoon and leave clear paths when you drag your whisk through it. If you try to speed things up with high heat, you'll burn the pudding or end up with scrambled eggs floating around.
- Strain and Finish Pudding:
- Pour everything through a fine strainer into a bowl to catch any accidental lumps or eggy bits. This gives you super smooth pudding. Add butter chunks one by one, stirring until they're completely melted, then mix in vanilla extract. Put plastic wrap right on the surface so it doesn't form a skin and stick it in the fridge until it's completely cool.
- Prepare the Whipped Cream:
- Beat cold heavy cream, powdered sugar and vanilla with a mixer until it forms stiff peaks. The cream should stand up straight when you lift the beaters. Gently fold half of this whipped cream into your cooled pudding to make it airier and more luxurious while still keeping its structure.
- Prepare the Bananas:
- Cut bananas into thin circles, about ⅛ inch thick. With a pastry brush, paint lemon juice on both sides of each slice. This keeps them from turning brown and adds a slight tang that makes the banana flavor pop. Make sure to coat them well but don't soak them.
- Assemble the Layers:
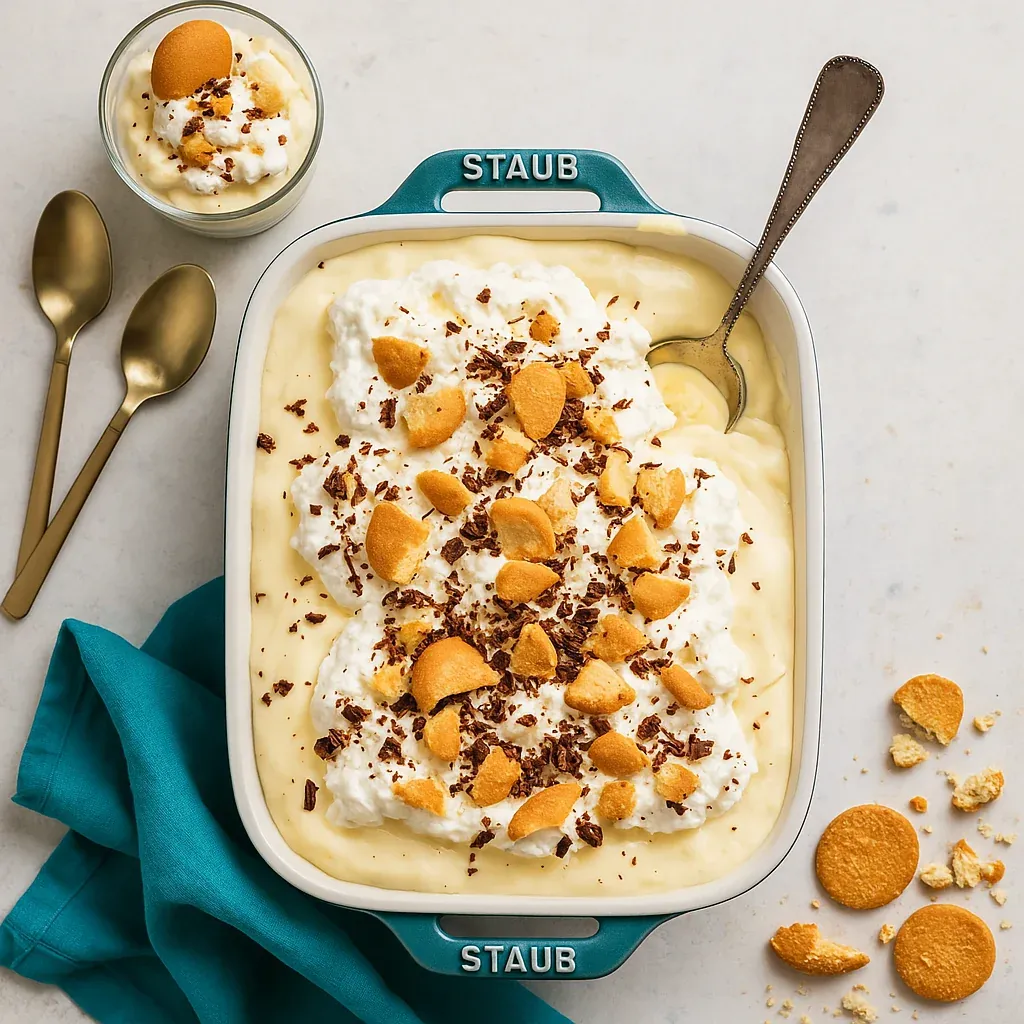
- Begin with a thin pudding layer on the bottom of your dish. Lay out vanilla wafers in one layer, then put banana slices on top of each cookie. Cover with half the pudding mix, spreading it out evenly. Add another cookie layer topped with banana slices, then spread the rest of the pudding on top. Finish with your saved whipped cream, making pretty swirls if you want.
- Final Touches:
- Right before you serve it, crumble some vanilla wafers on top for a nice crunch and use a potato peeler to make chocolate curls over everything for a fancy look and tasty flavor boost.
 Pin it
What I love most about this recipe is how the homemade vanilla wafers interact with the smooth pudding. After making this treat countless times, I've learned that letting the cookies soften a bit in the pudding creates just the right mix of textures without turning them into mush.
Storage Recommendations
Keep your banana pudding in the fridge, wrapped tight with plastic or in a sealed container. Try to eat it within 48 hours after making it, since the bananas will eventually start breaking down and darkening even with the lemon juice trick. You can make just the pudding base up to three days ahead and keep it separate until you're ready to put everything together.
 Pin it
Smart Substitutions
You can switch things up without ruining the dessert. If you don't have whole milk, 2% works fine but won't be quite as rich. For a lighter option, swap the heavy cream in the pudding base for more milk, though you'll still need real cream for the whipped topping since nothing else will whip up properly. In a hurry? Store-bought vanilla wafers can stand in for homemade ones, but making cookies from scratch really takes the final product to another level with better texture and taste.
Serving Suggestions
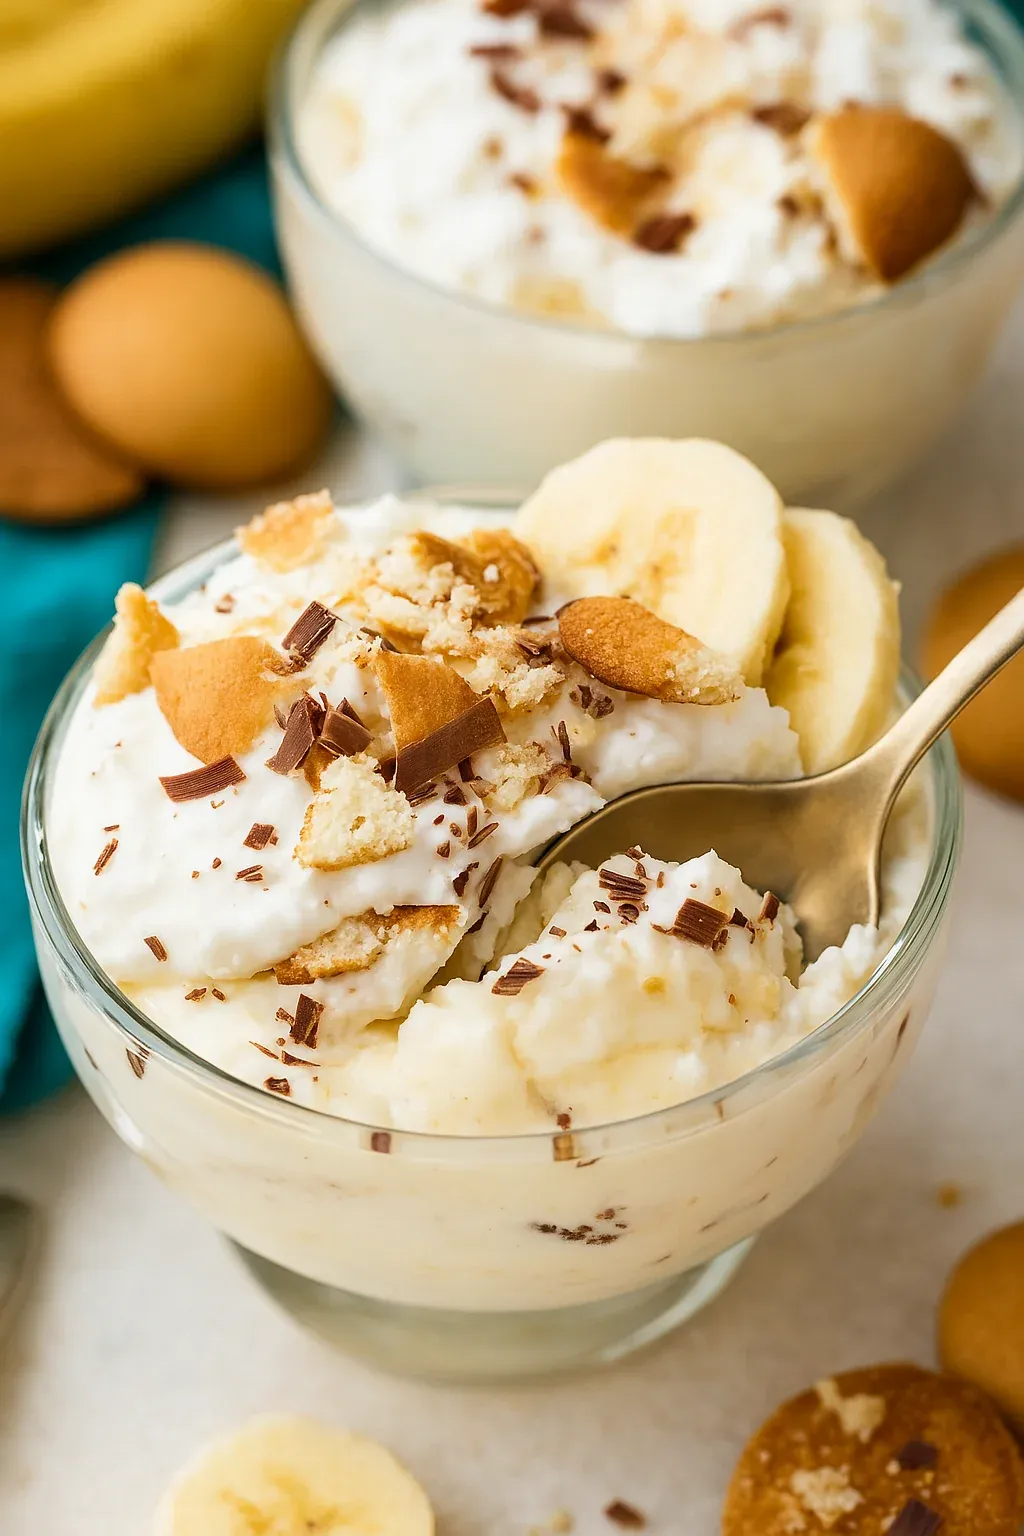
Banana pudding tastes best when it's cold from the fridge. For a wow-worthy presentation, build it in a clear trifle bowl to show off all those pretty layers. Making single servings in little mason jars or mini trifle dishes will impress dinner guests. Pair it with coffee or a small glass of sweet dessert wine to end any meal on a high note. For more casual get-togethers, just scoop big portions into bowls and let everyone grab extra vanilla wafers on the side.
The History Behind the Dish
This beloved Southern treat goes back to the late 1800s, though it really took off in the 1950s when instant pudding mixes hit store shelves. Early versions probably used custard instead of pudding and took a lot more work before convenience products came along. This version goes back to its handmade roots while adding modern tricks like using lemon juice to keep bananas looking fresh. Making everything from scratch connects us with home cooks from the past who created amazing desserts the long way.
Frequently Asked Questions
- → Can I swap cornstarch for something else?
Absolutely! Use arrowroot or potato starch as a direct substitute. Flour works too, but you’ll need about ⅓ to ½ cup—it might slightly change the consistency.
- → What milk works best here?
Whole milk is the creamier choice, but 2% does the job well too. For a twist, swap both the milk and cream with half-and-half.
- → How do I keep the bananas fresh-looking?
A light brush of lemon or lime juice will stop the bananas from browning too quickly. Plus, it gives a little tangy kick!
- → Can I skip homemade wafers?
Sure, grab some store-bought cookies if you're in a rush. However, homemade ones add a special homemade charm.
- → Can I make this ahead?
You bet! Prep the pudding base up to two days early. Assemble the full dish 4–24 hours before serving for peak taste and texture.
- → Can I freeze the pudding?
Sorry, freezing doesn’t work. The texture will break apart, leaving the pudding watery when it thaws.
- → Why the chocolate on top?
A sprinkle of dark chocolate brings some earthy richness, amping up the overall flavor combo.