
 Pin it
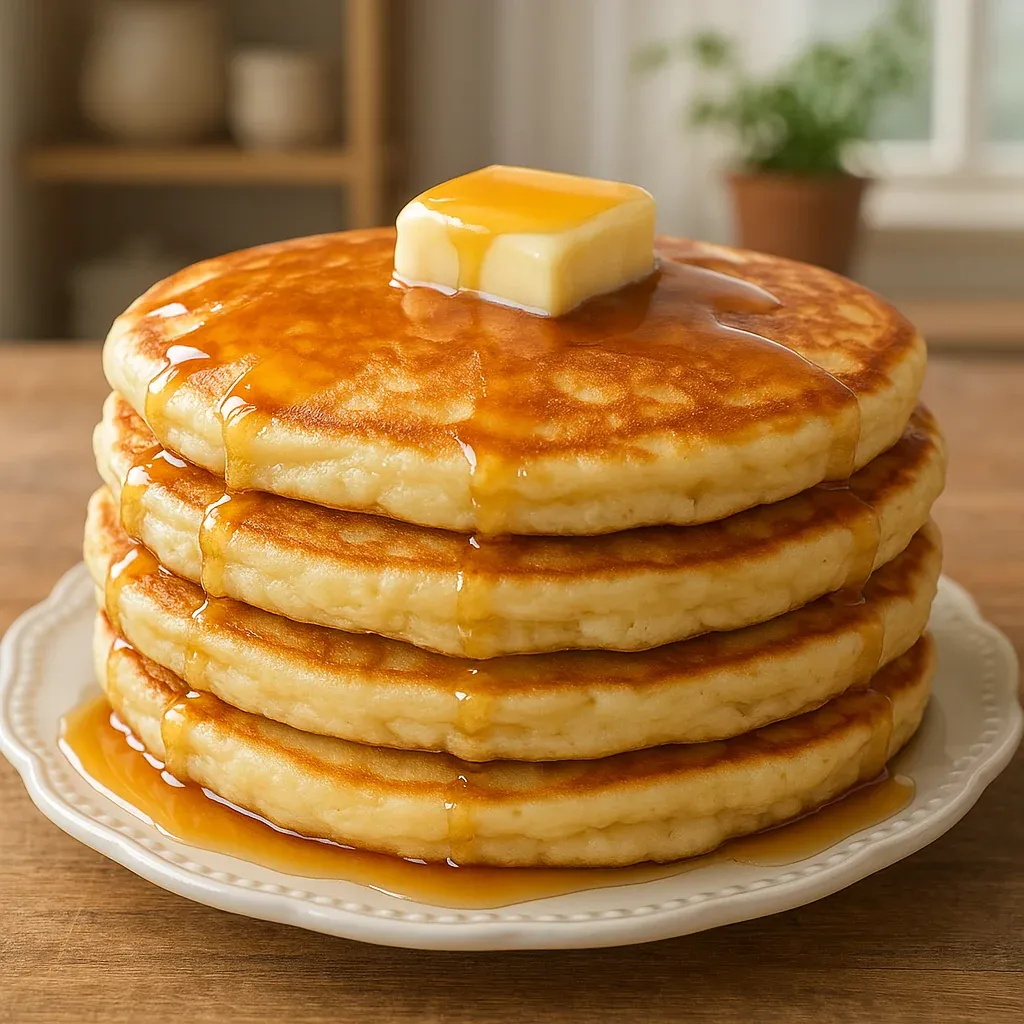
These fluffy buttermilk pancakes turn boring breakfasts into memorable moments with their cloud-like texture and deep taste. I came up with this surefire approach after too many letdowns from store-bought mixes, giving you café-quality pancakes right at home.
I whipped up these pancakes one relaxed Sunday morning for my family, and they've stuck as our weekend must-have ever since. When I saw my kids' reactions to that first golden stack hitting the table, I knew I'd nailed something truly awesome.
Ingredients
- All purpose flour: Gives the pancakes their perfect body. Grab unbleached for tastier results
- Sugar: Adds the right amount of sweetness. Plain granulated works great
- Baking powder: The main ingredient for lift. Make sure it's not expired for maximum fluff
- Baking soda: Works with buttermilk to create tiny bubbles throughout
- Salt: Brings out every flavor. Try fine sea salt if you can
- Buttermilk: Makes pancakes tender with a slight tang. Go for full fat for extra richness
- Eggs: Holds everything together. Let them warm up first for easier mixing
- Vanilla extract: Brings warmth to the flavor. Skip the fake stuff
- Unsalted butter: Adds luxury. European butter packs more fat for better taste
Step-by-Step Instructions
- Mix Dry Ingredients:
- Put flour, sugar, baking powder, baking soda, and salt in a big bowl and whisk until fully mixed. This makes sure your pancakes rise evenly. Break apart any little clumps of powder so you don't get bitter spots.
- Combine Wet Ingredients:
- In another bowl, beat buttermilk, eggs, and vanilla until they're smooth. Keeping wet and dry stuff separate stops you from overworking the batter. Make sure you can't see any egg whites floating around.
- Add Melted Butter:
- Pour melted butter into your wet mix while constantly stirring. This keeps the butter from hardening when it hits the cold buttermilk. Don't worry if it doesn't mix perfectly. The little butter bits will melt when you cook the pancakes.
- Create The Batter:
- Pour your wet stuff into the dry stuff and stir gently with a wooden spoon just until they come together. Stop while you can still see a few streaks of flour. This gentle touch keeps air bubbles intact. Let the batter sit for 5 minutes while you heat up the pan.
- Preheat The Pan:
- Put a nonstick pan over medium-low heat and add a little cooking spray or oil. You'll know it's ready when you feel warmth coming off the surface if you hold your hand above it. Good preheating gives you evenly browned pancakes.
- Cook First Side:
- Pour about half to two-thirds cup of batter onto the hot pan. It should spread out slowly into a 4-inch circle. Wait for bubbles to form across the top and edges to look set, usually taking 2-3 minutes.
- Flip And Finish:
- When bubbles start popping and leaving holes, flip your pancake carefully with a thin spatula. The bottom should look golden brown. Cook another 1-2 minutes until the other side browns and the middle bounces back when touched.
- Repeat And Serve:
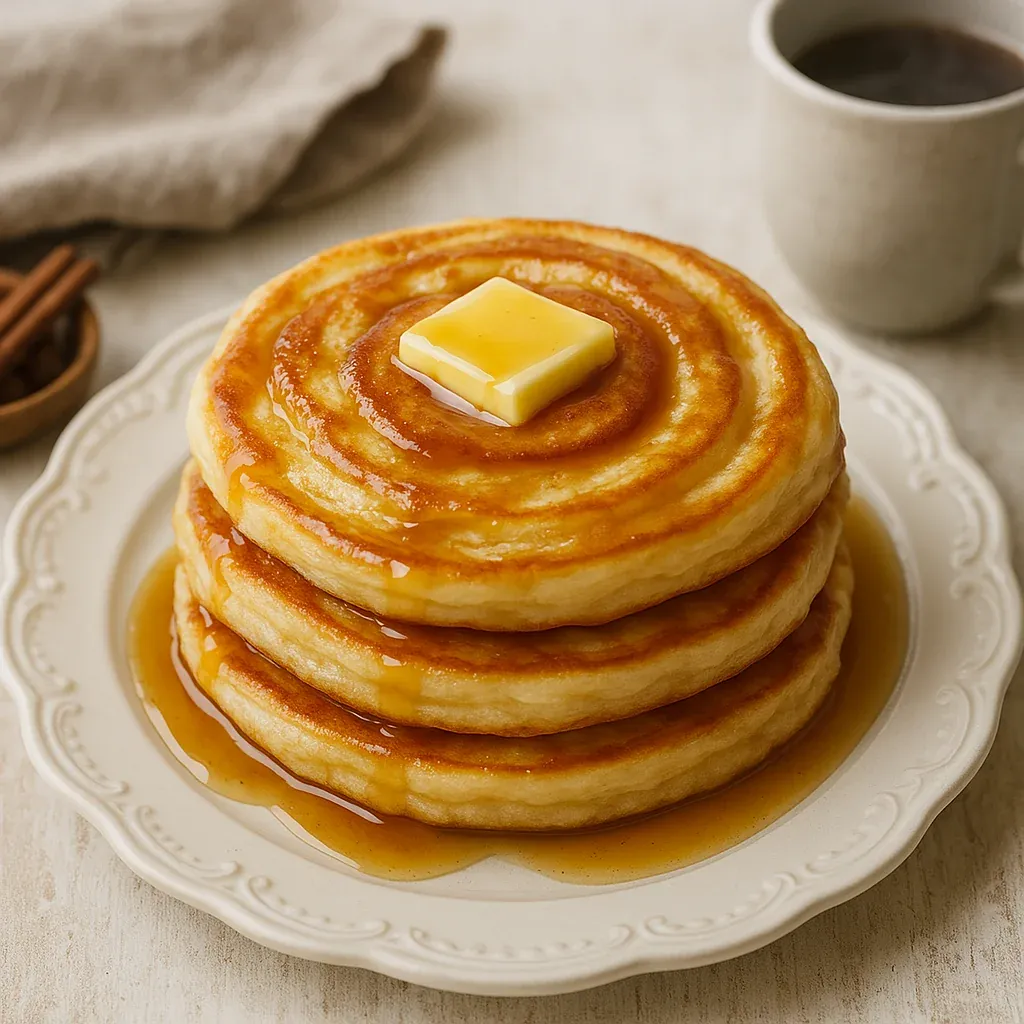
- Keep going with the rest of your batter, changing the heat if needed when pancakes cook too fast or slow. Serve them right away with butter and warm maple syrup for the tastiest results.
 Pin it
What I love most about making these is using buttermilk. I found out how amazing it was when I wanted pancakes but only had leftover buttermilk from another baking project. Those pancakes turned out so much tastier than my old recipe that I switched for good. Now I always keep buttermilk on hand just for weekend breakfast.
The Perfect Consistency
Your batter should be thick but still able to pour, kind of like honey. If it seems too thick, add a bit more buttermilk, one spoon at a time. If it's too runny, sprinkle in a little flour. Getting this right matters because it helps your pancakes puff up while cooking instead of spreading too thin across your pan.
Buttermilk Substitutes
Don't have buttermilk? You can make your own by mixing a spoon of lemon juice or white vinegar with regular milk and waiting five minutes. Just know this homemade version isn't as thick as store-bought, so add it bit by bit so your batter doesn't get too runny. You'll get a similar tangy taste, but maybe not quite the same richness. Watch the pictures and add your milk slowly until your batter looks right.
 Pin it
Storage And Reheating
These pancakes stay good in the fridge for up to three days if you keep them in a sealed container. To freeze them, lay cooled pancakes flat on a baking sheet until solid, then put them in a freezer bag with parchment paper between each layer. They'll last frozen for about two months. Warm up refrigerated ones in the microwave for 20 seconds or frozen ones for a minute. If you want crispy edges, pop them in the toaster or heat them in a 350°F oven for 5 minutes.
Frequently Asked Questions
- → What can I use instead of buttermilk?
Combine a cup of milk with a tablespoon of lemon juice or white vinegar. Let it sit for 5-10 minutes to thicken slightly. It works fine but may make the batter a little thinner.
- → How can I get fluffy pancakes without them falling flat?
Stir the batter gently, just enough to mix the ingredients. Overmixing breaks down air bubbles, which leads to dense, flat pancakes.
- → What pan works best to cook pancakes?
Choose a non-stick pan for even cooking and to avoid sticking. Heat it on medium-low before pouring in the batter for the best texture.
- → When is the right moment to flip the pancakes?
Flip when the edges look firm and small bubbles appear and pop on top of the pancake. Cook the other side until both are golden.
- → Can I swap out any ingredients?
You can use whole wheat flour for part of the regular flour, but you'll need to increase the buttermilk slightly. Butter can also be swapped for neutral oil without any problem.