 Pin it
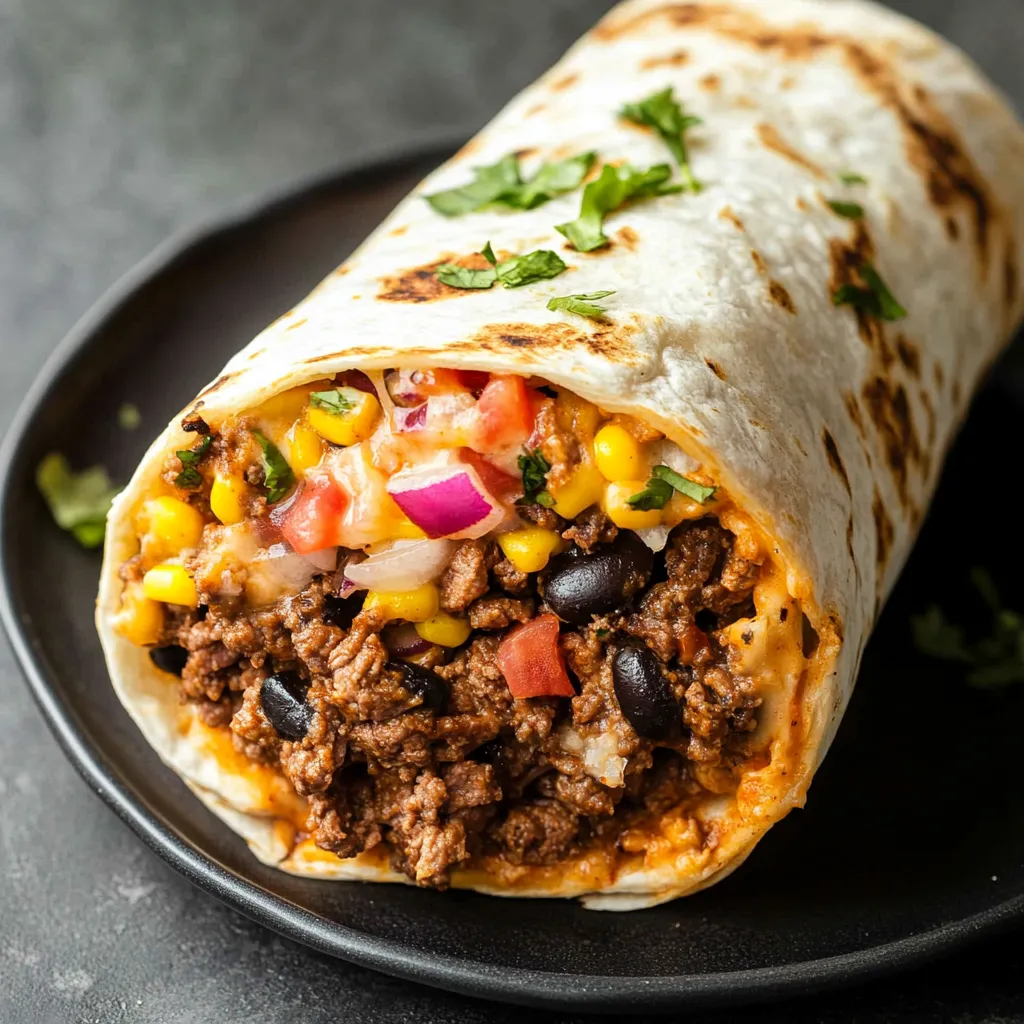
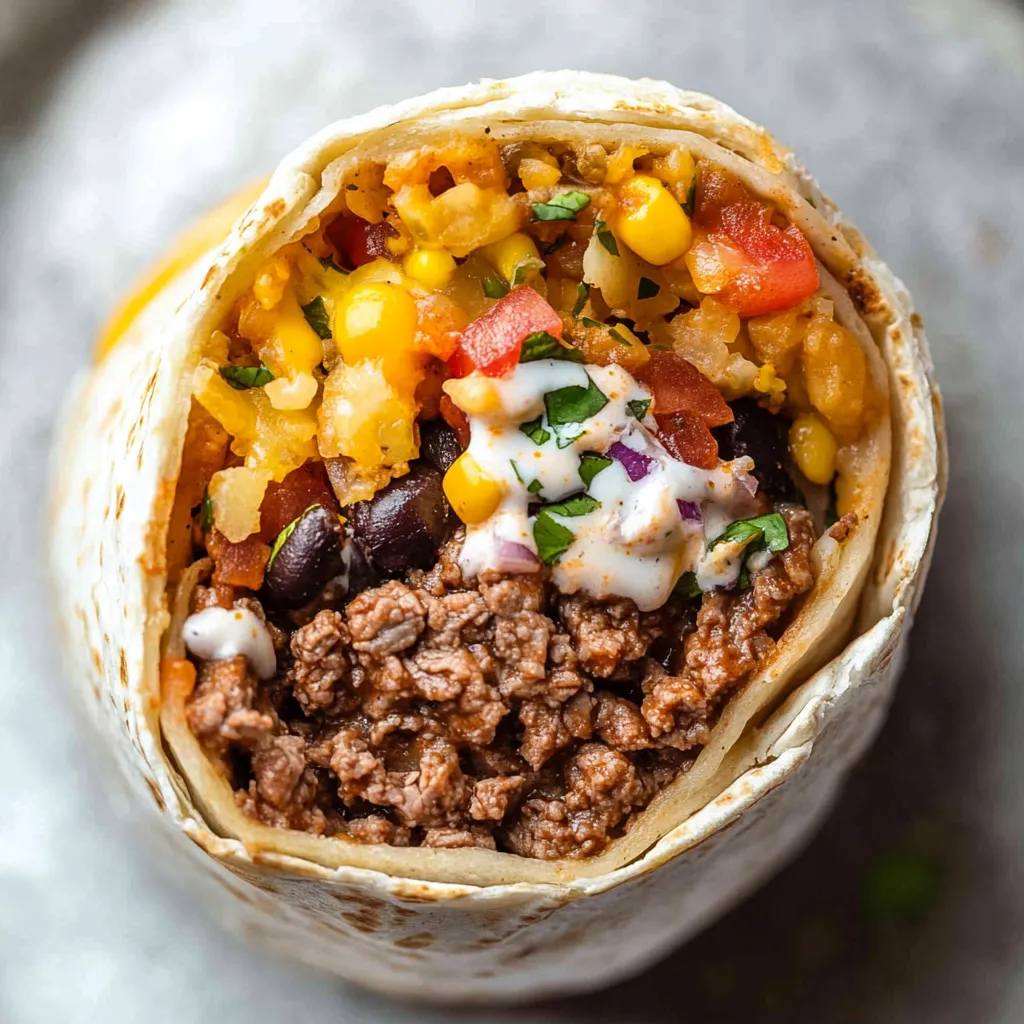
Making the ultimate beef burrito comes down to transforming basic ingredients into something truly special. There's nothing better than sinking your teeth into a soft tortilla stuffed with seasoned ground beef, airy rice, and crisp toppings—whether it's a hectic Tuesday night or a relaxed Sunday afternoon. This isn't just a quick fix for hunger—it's a flexible favorite that's become a staple in my family's dinner lineup, bringing warmth and joy to our meals again and again.
I whipped up twice the normal amount of these burritos just the other day—half for our dinner and half for the freezer. Even my picky teenage son couldn't spot any difference between the fresh ones and the reheated ones. What's the trick? Knowing exactly how each component works both immediately and after freezing.
Key Components and Shopping Advice
- Ground Beef: Go for 80/20 beef to get the perfect mix of taste and texture. I've learned from mistakes that this ratio keeps everything moist without ending up swimming in grease. Pick meat that's vibrant red and grab fresh-ground when you can
- Spice Mix: Try heating whole cumin seeds before grinding them—it's a tiny extra step that seriously boosts flavor. Good quality chili powder should look bright red, not dull brown, showing it's fresh
- Rice: Stick with long-grain white rice for this dish. The individual grains stay separate and light, ready to soak up all those tasty meat juices without turning to mush
- Fresh Stuff: Look for solid tomatoes and snappy lettuce or cabbage. When I'm making burritos for freezing, I always use cabbage since it stays crunchy longer than lettuce does
The secret to an awesome beef burrito starts with perfectly flavored meat. After countless times making this dish, I've found that every single step adds another layer of taste that separates an ordinary burrito from one that'll blow your mind.
 Pin it
Step-by-Step Cooking Guide
- Step 1:
- Get your pan hot on medium heat—I love using cast iron because it heats so evenly and gives the meat a lovely brown crust. Pour in your olive oil and wait until it glistens, then toss in your finely chopped onions. Let them cook slowly until they turn clear and get slightly golden at the edges.
- Step 2:
- Toss in your chopped garlic and stir for just about 30 seconds until you can smell it. Then add your beef—spread it out flat across the pan and don't mess with it right away. Let one side get nicely browned before you break it into smaller chunks with your spatula.
- Step 3:
- While your beef cooks, mix your spices in a small bowl. Heat those whole cumin seeds in a dry skillet first, then grind them up fresh. Once your meat is browned and you've poured off extra fat, sprinkle the spice mix evenly over everything. Cook for another minute or two, letting the heat wake up all those spices and really sink into the meat.
- Step 4:
- Pour in your tomato sauce and water, stirring everything together well. Turn the heat down low and let it bubble gently for around 5 minutes. The sauce will thicken a bit, coating all the meat pieces with flavor. Give it a taste and add more salt or spice if needed.
- Step 5:
- Get your rice ready by washing it until the water runs clear. Cook following the package directions, but throw in a bay leaf for extra flavor. When it's done, fluff it up with a fork and mix in some fresh lime juice and chopped cilantro while it's still warm.
Putting it all together blends skill with simplicity
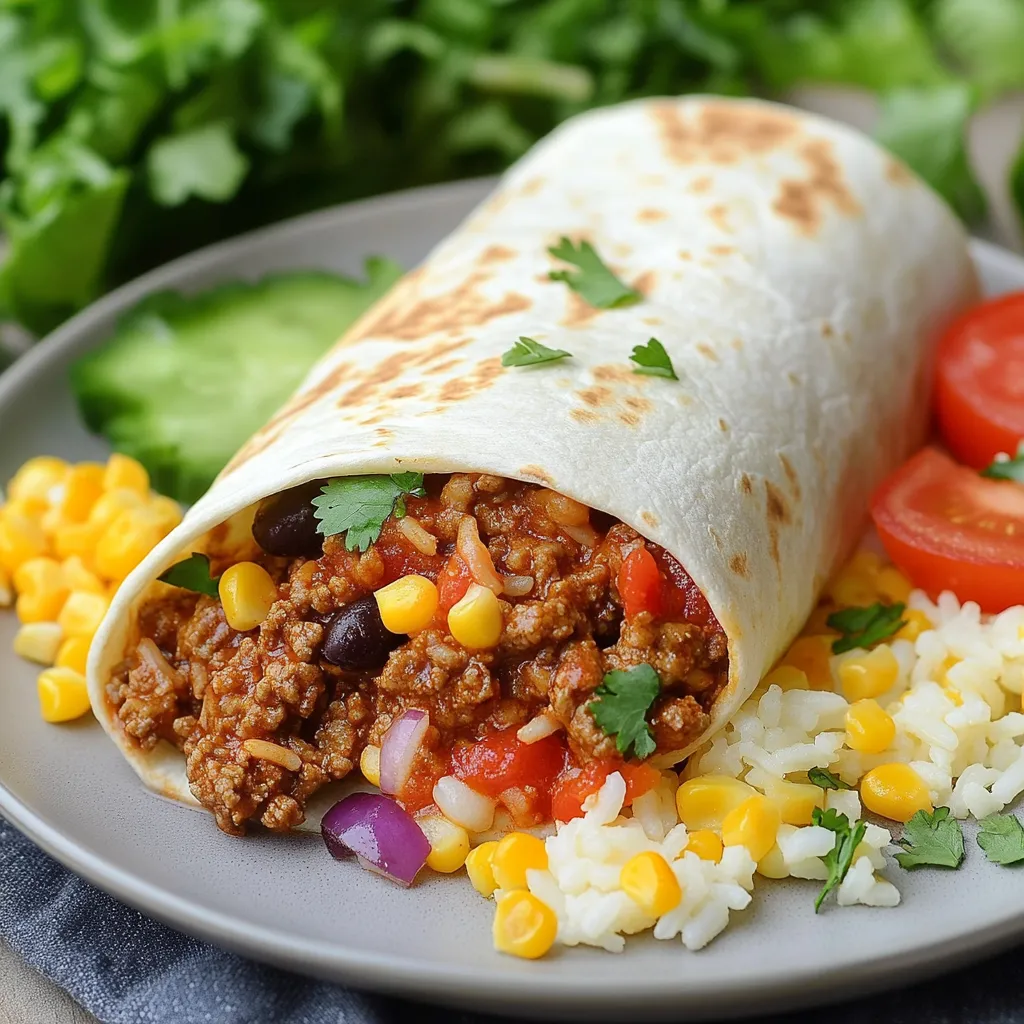
Start by heating your tortillas—I just use a dry cast iron pan, about half a minute per side, until they're soft but not crispy. How you arrange your fillings really matters. I put a scoop of rice slightly below the middle, then add beef, beans if I'm using them, and fresh stuff like tomatoes and lettuce last. This careful setup keeps the tortilla from tearing and makes sure every mouthful has a mix of flavors.
Getting Temperatures Just Right
 Pin it
Nailing the right temperature is crucial for a great burrito. Your beef should be hot enough to melt cheese but not so hot that it makes everything soggy. Letting the meat cool for around 5 minutes after cooking hits that perfect spot. The rice needs to be warm but not steaming to avoid making things wet inside.
Smart Stacking Technique
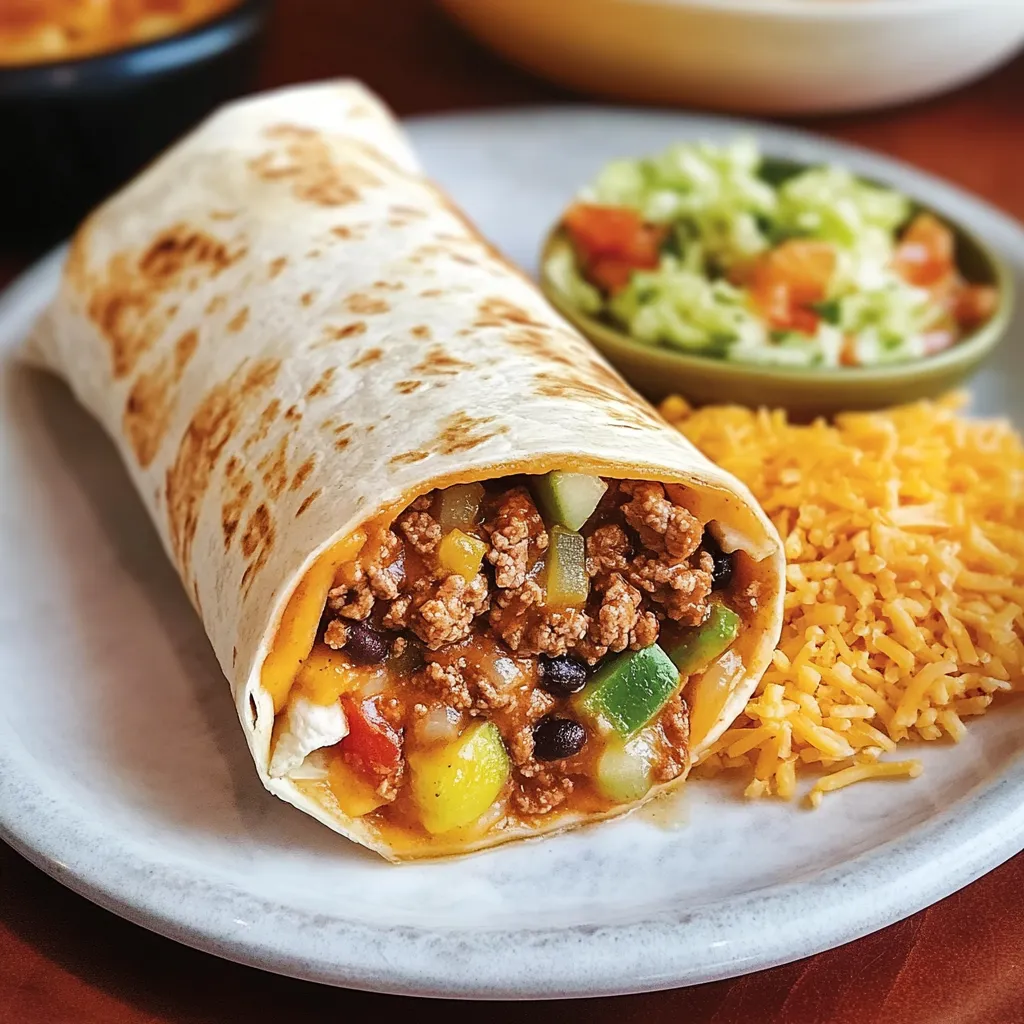
Stack your ingredients thoughtfully—rice first, then meat, followed by beans if you're adding them. Fresh stuff like tomatoes and lettuce go on top. This setup stops wet ingredients from making the tortilla soggy and keeps crunchy things crisp. If you plan to freeze some burritos, skip things like fresh tomatoes and lettuce, and use ingredients that freeze well instead, such as roasted peppers or corn.
 Pin it
Fantastic Freezer Prep
When freezing burritos, let all ingredients cool completely before you put them together—this stops ice crystals from forming and ruining the texture. Wrap each burrito in parchment paper first, then in foil. This approach guards against freezer burn and keeps everything tasting fresh for up to three months.
Pro Kitchen Tricks
What makes this dish so great is how it can fit different tastes and situations. Whether you need a quick dinner, meals prepped for the week, or something to stock your freezer with, beef burritos always deliver on flavor and satisfaction.
Parting Thoughts
Crafting an amazing beef burrito means understanding how every component plays its part. The flavorful beef creates a rich base, while carefully selected toppings build a complete, delicious meal. Through lots of practice and tweaking, I've discovered that the little details really do matter most.
Frequently Asked Questions
- → Can you freeze the wraps?
- Absolutely! Replace lettuce with cabbage and wrap tight in foil. Store up to 3 months in the freezer.
- → What’s the best way to reheat frozen ones?
- Let them thaw in the fridge overnight. Heat in foil at 350°F for 30-40 minutes or microwave and pan-fry.
- → Can I sneak in extra veggies?
- Definitely! Add tiny cubes of zucchini, peppers, or carrots. Just remember to season more to match!
- → Which tortillas won’t tear?
- Big, soft wheat tortillas (10 inches or more) are best. Choose flexible ones to avoid rips!
- → How long are they good in the fridge?
- Wrapped tightly, they'll last fresh in the fridge for 4 days.
