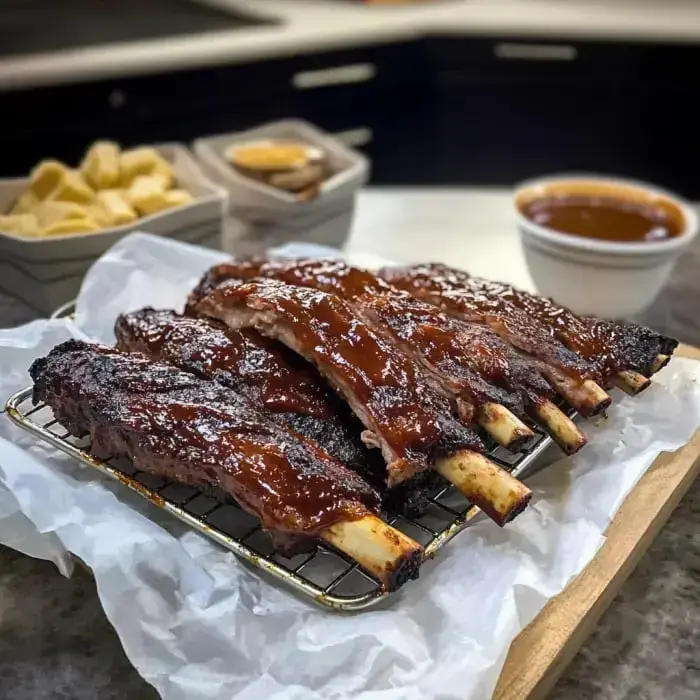
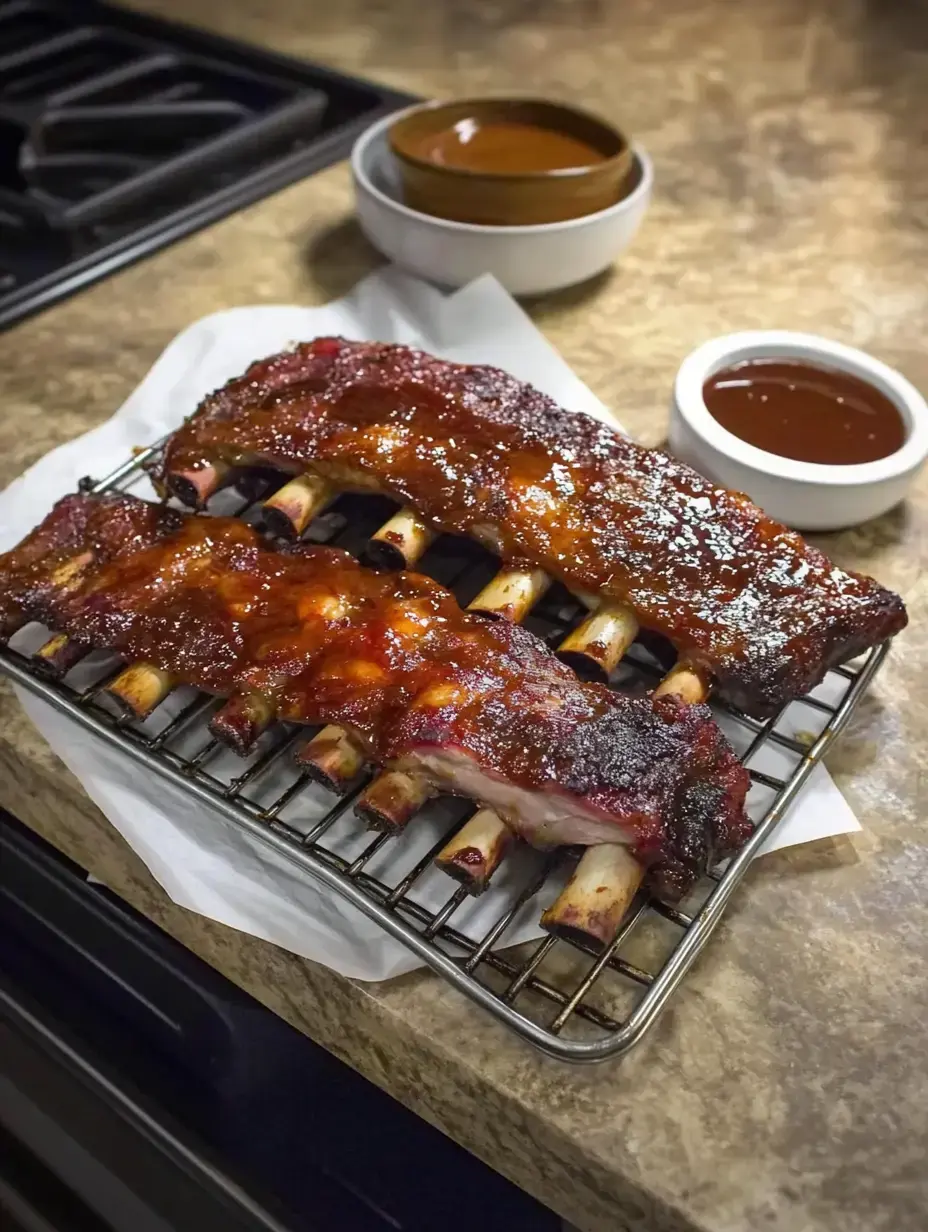
 Pin it
I've cracked the code for incredible ribs without needing a smoker! Through countless experiments, I've mastered making super tender, caramelized baby backs in your regular oven. You'll have them ready to eat in just 2 hours, and they taste so fantastic that everyone will swear they came from a proper smoker.
The Secret Technique Behind These Tasty Ribs
The surprising trick that makes these ribs amazing is cutting them into single pieces before cooking. Sounds odd, doesn't it? But this approach allows every rib to develop that awesome crispy exterior while keeping the inside juicy and moist. And they cook so much quicker than full racks!
Your Shopping List
- Ribs: Go for baby backs since they've got more meat and tenderness.
- Oil: Simple olive oil will make your seasonings stick better.
- Your Spices: Pre-made rubs work fine, but I'll give you my blend too.
- Sauce: Pick whatever BBQ sauce you love, no judgment here!
- Special Addition: A bit of honey creates that extra sticky goodness.
Cooking Instructions
- Prep Work
- Start by checking your ribs carefully. Cut away any loose pieces or excess fat, but keep some fat for better taste! Now the key step: take your sharpest knife and slice between each bone. Don't stress about perfect cuts; they'll shrink during cooking anyway. Many people bother with taking off the membrane, but honestly? I typically don't.
- Adding Flavor
- Pour some oil over those ribs and use your hands to spread it around completely. Then add plenty of your spice mix - don't be stingy! I typically combine smoked paprika, brown sugar, garlic powder, and a little cayenne. Press it firmly onto every rib.
- Baking Process
- My trick is this: place a wire rack on your baking sheet so the ribs won't sit in liquid and get mushy. Set your ribs meat-side up with space between them. Bake at 350°F for 45 minutes, then turn them over and cook another 45. You want them soft but not falling to pieces.
- Getting Them Sticky
- Now for the good part! Coat all ribs with your BBQ sauce, then add honey drizzles. Flip and do the same on the other side. This double layer makes them incredibly flavorful.
- Last Steps
- Finally, turn on your broiler! But keep watching them carefully. Usually 2-3 minutes per side gets that perfect sticky, caramelized finish. You want just a bit of charring around the edges.
Understanding Baby Back Cuts
Folks often ask why I always pick baby backs for this cooking method. Here's why: they come from the upper part of the pig, close to the backbone (that's where their name comes from). They're not as long as spare ribs but they've got more meat and usually cook up more tender. Yes, they cost a bit more, but for this approach, they're totally worth it. Their curved shape also helps them cook more evenly in your oven.
Pro Cooking Shortcuts
Let me pass along some game-changing tips I've picked up. That wire rack isn't just for show - it's needed for air flow and stops your ribs from sitting in fat. Don't bother with liquid smoke; it usually tastes fake. Want extra crunch? Try my trick: finely crush some pork rinds and mix them into your spices before the final broil. And always avoid wrapping in foil - we want a nice crust, not steamed meat!
Complete Your Dinner
When I put these ribs on the table, I go big with side dishes. My sharp coleslaw balances the rich meat perfectly. Fresh cornbread for mopping up sauce is essential. And you gotta have some baked beans - I jazz up store-bought ones with bacon bits and brown sugar. My children always argue over who gets the end pieces because they turn out extra sticky and sweet!
Get Ready Earlier
Making these for guests? Add the spices the day before - they'll taste even better. You can even cook them earlier, then just add sauce and broil right before eating. If you're cooking for lots of people, don't stress about cutting them exactly the same - once they're all covered in sticky sauce, nobody will notice if some are bigger!
 Pin it
Totally Rewarding Results
Sure, I enjoy traditional smoked ribs too, but these oven-made gems have become what I make most often, particularly during cold months or when it's pouring outside. They need less attention than smoking but still give you that perfect mix of soft meat and sticky coating. And your house will smell wonderful while they cook. Try them once - I'm sure they'll become your family favorite!
Frequently Asked Questions
- → What’s the deal with the membrane?
Skipping this step is fine, but removing it boosts flavor and makes the ribs easier to chew. Use a paper towel for grip when peeling it off.
- → What’s the right rib temperature?
First, hit 175-185°F. After glazing, bring them to around 200°F for the ultimate tenderness.
- → Do I really need to broil?
Broiling adds a crispy caramelized layer to the sauce. Keep your eye on it to avoid burning!
- → Can I try other sauces?
You sure can! Mix in your go-to BBQ sauce or seasoning blend and follow the same steps for cooking.
- → Should I wrap the ribs?
No need to wrap! Baking them unwrapped at a steady temperature keeps them juicy.
