
 Pin it
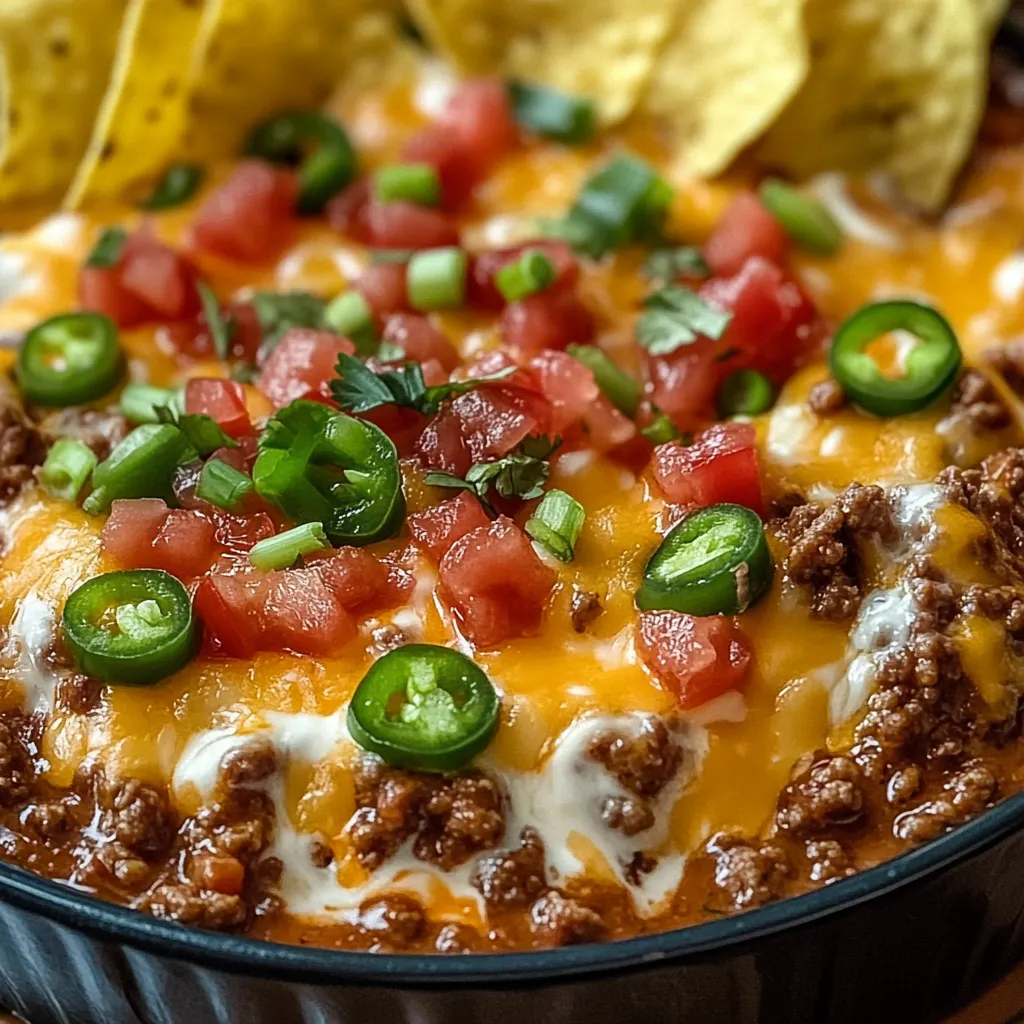
This cheesy, meaty Texas Trash Dip transforms ordinary gatherings into memorable feasts with its irresistible layers of seasoned beef, creamy beans, and melted cheese. Perfect for game days, potlucks, or anytime you need to feed a hungry crowd with minimal effort but maximum flavor impact.
I first made this dip for a last-minute Super Bowl party when I was desperate for something that would impress without requiring a grocery store run. The pot was literally scraped clean before halftime, and now my friends refuse to let me through the door for any gathering without it.
Ingredients
- Ground beef: The foundation of flavor and hearty texture. Choose 80/20 for best flavor without excessive grease.
- Taco seasoning mix: Provides balanced spices without measuring individual ingredients. Look for low-sodium versions if watching salt intake.
- Cream cheese: Creates the rich, velvety base. Allow to soften at room temperature for easiest mixing.
- Sour cream: Adds tanginess that balances the richness. Full-fat works best for creamiest results.
- Refried beans: Gives substantial body and authentic Tex-Mex flavor. Traditional style provides best texture.
- Salsa: Contributes ready-made flavor complexity and moisture. Choose chunky varieties for more texture.
- Canned diced green chiles: Mild heat with distinctive southwestern flavor. Fire-roasted varieties offer deeper flavor.
- Mexican cheese blend: Melts beautifully for that perfect cheese pull. Freshly shredded melts more smoothly than pre-packaged.
- Garlic powder and onion powder: Essential flavor boosters that permeate the entire dip with aromatic notes.
Step-by-Step Instructions
- Prepare Your Foundation:
- Brown the ground beef thoroughly over medium heat, breaking it into small crumbles as it cooks. Take your time here as properly browned meat delivers significantly more flavor than just cooking until no longer pink. Once done, drain the excess fat thoroughly by tipping the pan and spooning it out, or use a colander lined with paper towels.
- Season The Meat:
- Return drained beef to your skillet and sprinkle the taco seasoning evenly over the meat. Pour in exactly 60ml of water and stir immediately to prevent clumping. Allow this mixture to simmer gently until the liquid has reduced but the meat remains moist and glossy with seasonings coating each piece. This takes about 2 to 3 minutes of patience.
- Create The Creamy Base:
- In a large mixing bowl, combine softened cream cheese and sour cream first, mixing until completely smooth with no lumps. This initial step ensures even distribution later. Add refried beans gradually, incorporating fully before adding salsa and drained green chiles. Sprinkle in half the shredded cheese along with garlic and onion powders. Mix thoroughly until the texture is consistent throughout.
- Combine Components:
- Fold the seasoned beef into the creamy mixture using a folding motion rather than aggressive stirring. This preserves the texture of both components while ensuring even distribution. Continue folding until no streaks of unmixed ingredients remain visible but avoid overmixing which can make the texture dense.
- Prepare For Baking:
- Transfer the combined mixture to your prepared baking dish, using a spatula to spread it into an even layer with a slightly textured surface. This creates more surface area for browning. Distribute the remaining cheese evenly across the top, ensuring complete coverage for that perfect golden crust.
- Bake To Perfection:
- Place the dish in your preheated oven and bake for 25 to 30 minutes. Look for these signs of doneness: bubbling activity around the edges, slight pulling away from the sides of the dish, and a light golden brown color on the cheese top. The center should be hot but not dried out.
 Pin it
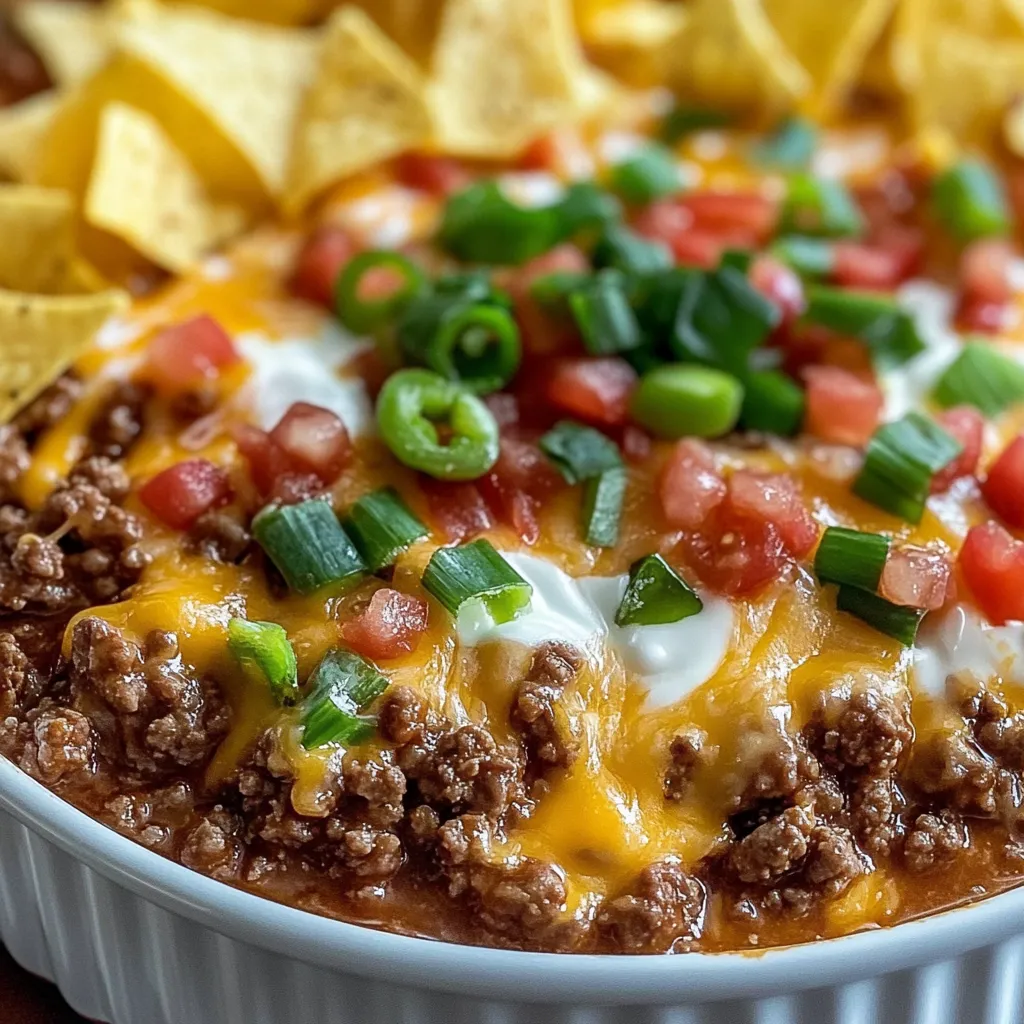
The refried beans are honestly the secret hero of this recipe. While most people focus on the cheese or meat, the beans provide that creamy, substantial base that keeps everyone coming back for more. My cousin once tried making it without them to save calories, and everyone agreed it just wasn't the same. Some traditions shouldn't be messed with!
Make-Ahead Magic
This dip actually improves with a little rest time, making it perfect for busy hosts. Prepare the entire mixture up to 24 hours in advance, spread it in your baking dish, cover tightly with plastic wrap, and refrigerate. Remove from the refrigerator about 30 minutes before baking to take the chill off, then top with cheese and bake as directed. You may need to add 5 to 7 minutes to the baking time if starting from a refrigerated state.
 Pin it
Customization Corner
This dip welcomes personalization based on your preferences or what you have on hand. Try black beans instead of refried for more texture, substitute pepper jack cheese for extra heat, or add a layer of guacamole after baking for freshness. Vegetarians can replace the beef with seasoned chopped mushrooms, plant-based grounds, or an extra can of beans. The dip remains delicious with any of these adjustments, though the texture and depth of flavor will vary slightly.
Serving Suggestions
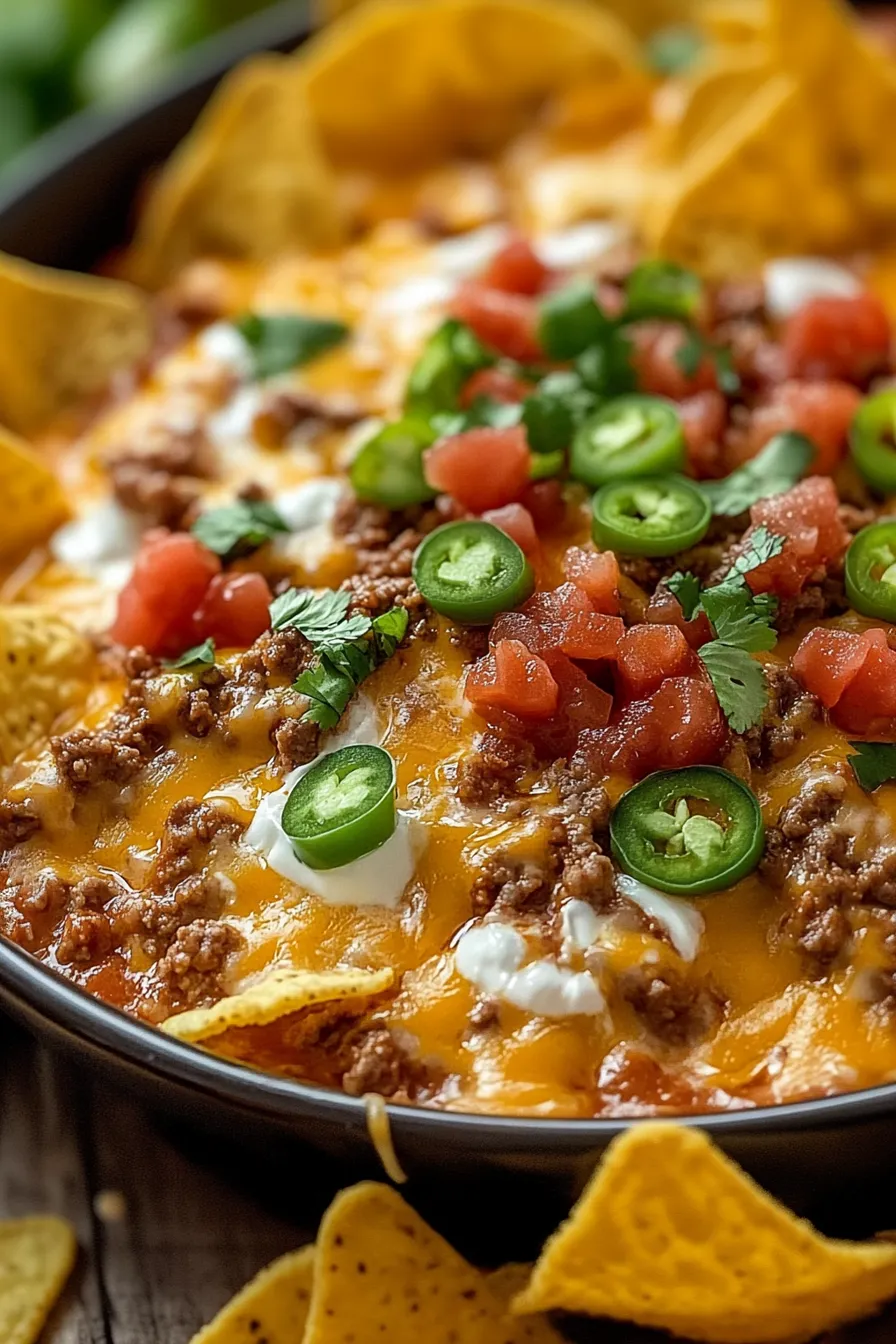
While tortilla chips are the classic pairing, this versatile dip works beautifully with many vehicles. Try it with bell pepper slices or cucumber rounds for a lower-carb option, or spoon it into lettuce cups for a satisfying appetizer. For a complete meal, serve it over rice with additional salsa and avocado, stuff it into baked potatoes, or use it as a filling for quesadillas or burritos. At my last party, I set up a build-your-own nacho bar with this dip as the centerpiece, and guests were creating masterpieces all evening.
Texas Trash Dip History
Despite its somewhat unusual name, Texas Trash Dip has become a staple at gatherings across the American South and Southwest. The origins of the name are somewhat murky, but many believe it comes from the original trash mix snacks popular in Texas that combined various cereals, nuts, and seasonings into an addictive munchie mix. This dip version evolved as home cooks began creating heartier, more substantial appetizers for game days and potlucks. The dish perfectly embodies the Tex-Mex fusion cuisine that Texas is known for, combining Mexican flavors with the American love of hearty, cheese-laden comfort food.
Frequently Asked Questions
- → What makes this dip stand out?
The combination of seasoned ground beef, creamy layers, and a vibrant blend of cheeses creates an irresistible flavor and texture that everyone loves.
- → Can I make this dip ahead of time?
Yes, you can prepare the dip up to 24 hours in advance. Simply refrigerate it before baking, then heat it when ready to serve.
- → What can I serve with this dip?
This dip pairs well with tortilla chips, vegetable crudités, or even crusty bread slices for dipping.
- → Can I make it spicier?
For extra heat, add 1/2 teaspoon of cayenne pepper, use hot salsa, or include diced jalapeños. Adjust spice levels to your preference.
- → Are there vegetarian alternatives?
To make it vegetarian, omit the ground beef and substitute with plant-based meat alternatives or black beans for a hearty option.