
 Pin it
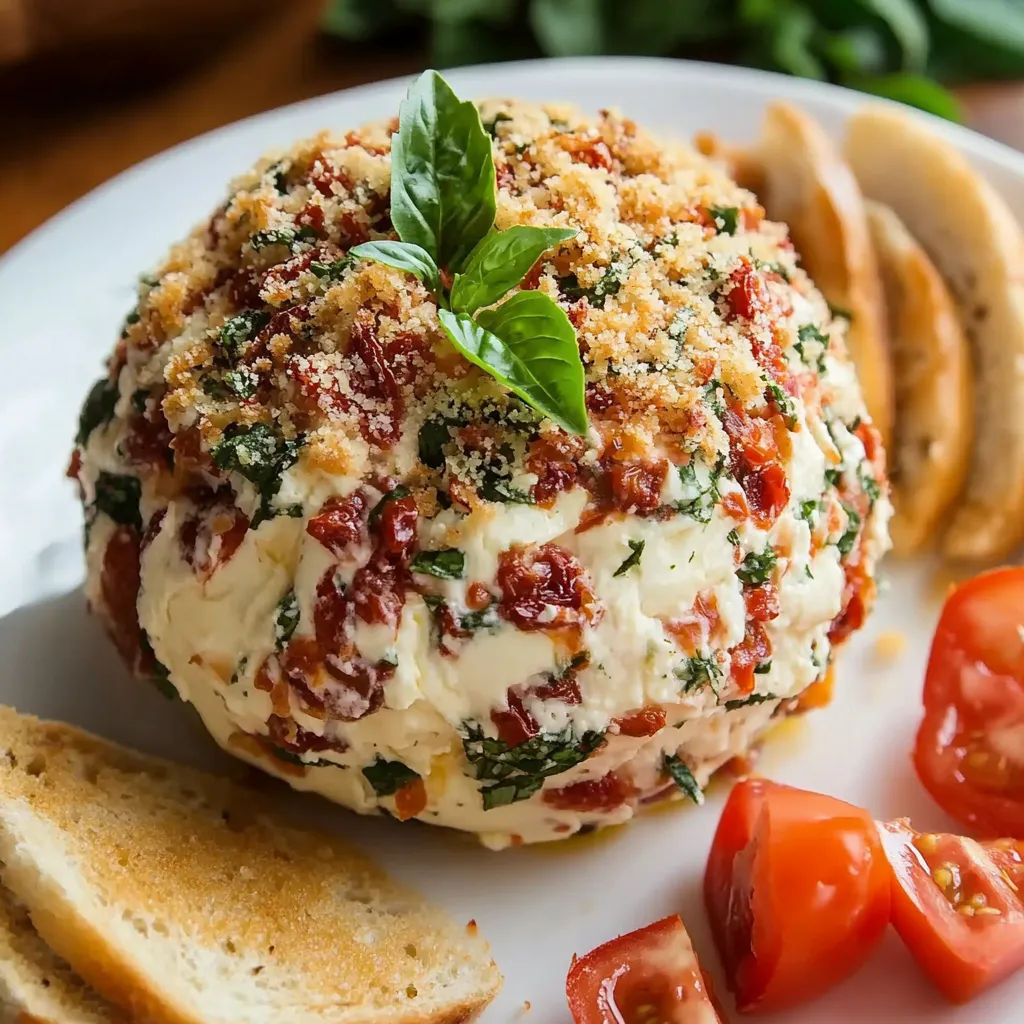
This bruschetta cheese ball transforms classic Italian flavors into a delicious, crowd-pleasing appetizer perfect for gatherings. The combination of creamy cheese, sun-dried tomatoes, and fresh herbs creates an irresistible centerpiece that guests will gather around.
I first created this cheese ball for a last-minute dinner party, and it's become my signature appetizer. The way everyone's eyes light up when they see it on the table makes the simple preparation completely worthwhile.
Ingredients
- Cream cheese: creates the creamy foundation for optimal spreading texture
- Shredded cheese mix: combines the melty quality of mozzarella with Parmesan's nutty depth
- Sun-dried tomatoes: offer concentrated flavor and beautiful color contrast
- Fresh basil: provides that classic Italian aroma and bright green flecks
- Olives: add briny depth that balances the creaminess perfectly
- Garlic: infuses the mixture with aromatic warmth
- Dried oregano: brings authentic Italian flavor that pairs perfectly with tomatoes
- Panko breadcrumbs: create a golden, crispy exterior that mimics bruschetta toast
- Fresh tomato and basil garnishes: make the presentation pop with color
Step-by-Step Instructions
- Prepare the Sun-Dried Tomatoes:
- Reserve half your sun-dried tomatoes for garnish. Finely chop the remaining half into small pieces about the size of a pencil eraser. The oil-packed variety works best here as they remain plump and juicy while distributing their flavor throughout the cheese mixture.
- Mix the Ingredients:
- Combine softened cream cheese and shredded cheeses in a large bowl until completely smooth. Add chopped sun-dried tomatoes, basil, olives, garlic, oregano, salt, and pepper. Mix thoroughly until you achieve a consistent texture with evenly distributed ingredients. Take your time during this step to ensure no pockets of unmixed cream cheese remain.
- Shape the Cheese Ball:
- Scrape the mixture onto a large piece of plastic wrap. Use the wrap to help form a compact, evenly shaped ball by twisting the top closed and using your hands to smooth the exterior. The plastic wrap prevents the mixture from sticking to your hands while allowing you to apply even pressure all around.
- Chill the Cheese Ball:
- Refrigerate the wrapped cheese ball for at least 30 minutes, though 2 hours is ideal. This resting period accomplishes two things: it allows the flavors to meld together and it firms up the mixture to make coating easier. For best results, chill overnight to intensify the flavors.
- Toast the Panko Coating:
- Melt butter in a skillet over medium heat until it begins to foam. Add panko breadcrumbs and stir constantly as they toast, watching carefully for a golden brown color. This takes approximately 3 to 4 minutes. The butter adds richness and helps the crumbs adhere to the cheese ball.
- Coat and Garnish:
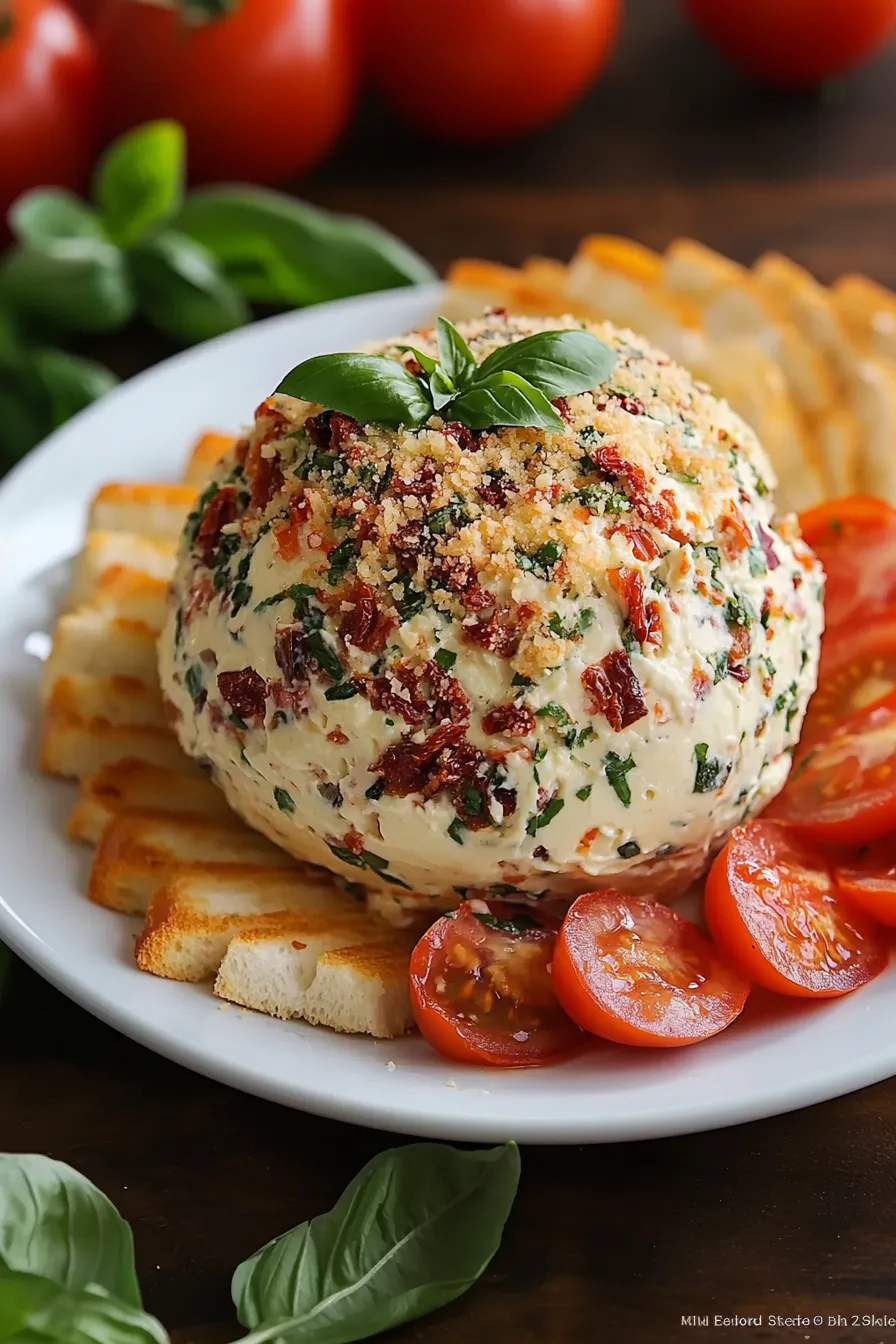
- Unwrap the chilled cheese ball and gently roll it in the cooled toasted panko, pressing lightly to adhere. Top with the reserved chopped sun-dried tomatoes, diced fresh tomato, and additional basil leaves. The contrast between the golden crumbs and vibrant red tomatoes creates a stunning presentation.
 Pin it
The hidden star in this recipe is definitely the sun-dried tomatoes. I discovered their transformative power years ago when my Italian grandmother showed me how to make proper bruschetta. She always insisted on adding a few chopped sun-dried tomatoes to intensify the fresh tomato flavor, especially during winter months when fresh tomatoes lack sweetness.
Make Ahead and Storage
This cheese ball shines as a make ahead appetizer. You can prepare the cheese mixture up to three days in advance and keep it wrapped in the refrigerator. For best results, wait to add the panko coating until a few hours before serving to maintain maximum crispness. Leftover cheese ball will keep for up to five days refrigerated, though the coating will soften over time. Simply bring to room temperature for about 30 minutes before serving again for the best spreadable texture.
Easy Variations
Turn this recipe into mini cheese balls for individual servings by dividing the mixture into tablespoon sized portions before chilling. Roll each in toasted panko and place on crackers just before guests arrive. For a holiday twist, add dried cranberries and swap the basil for fresh rosemary. Incorporate chopped artichoke hearts and a squeeze of lemon juice for a Mediterranean variation that complements the existing flavors beautifully.
 Pin it
Serving Suggestions
While traditional crostini or crackers make excellent vehicles for this cheese ball, consider some unexpected pairings too. Cucumber rounds provide a refreshing crunch, while sweet bell pepper slices offer a colorful alternative. For a low carb option, serve with endive leaves which create perfect scoops. This cheese ball also makes an amazing sandwich spread when thinly sliced the next day, especially on crusty Italian bread with arugula and prosciutto.
The History Behind the Dish
Bruschetta dates back to ancient Rome, where olive growers would taste their freshly pressed oil on toasted bread. The modern cheese ball gained popularity in America during the 1970s as a cocktail party staple. This recipe beautifully marries these two traditions, combining the rustic Italian flavors of classic bruschetta with the communal, celebratory nature of the cheese ball. The addition of panko breadcrumbs cleverly incorporates the toasted bread element of bruschetta right into the appetizer itself.
Frequently Asked Questions
- → Can I make this cheese ball ahead of time?
Yes, you can! Prepare the cheese ball up to a day in advance, wrap it tightly in plastic wrap, and refrigerate. Add the panko crust and garnishes just before serving for the best texture.
- → What can I serve with Bruschetta Cheese Ball?
It pairs wonderfully with toasted baguette slices, crackers, or fresh vegetable sticks like celery, cucumber, or carrot sticks.
- → Can I use dried basil instead of fresh basil?
While fresh basil provides the best flavor, dried basil can be used in a pinch. Use about 1/3 of the amount of fresh basil the recipe calls for.
- → How can I make this dish dairy-free?
For a dairy-free version, substitute the cream cheese and shredded cheese mix with plant-based alternatives available in most grocery stores.
- → Can I make this dish gluten-free?
Absolutely! Simply replace the panko breadcrumbs with gluten-free breadcrumbs to ensure the dish is gluten-free.
- → How do I store leftovers?
Store any leftovers in an airtight container in the refrigerator for up to 3 days. Note that the panko crust may lose some crunchiness over time.